Easily integrate Google Address to enable Google Maps Autocomplete on your checkouts. Google Maps gives you $200 of usage every month for no charge.
Google Maps Autocomplete uses location-based search to assist your customers in entering their full address without having to type out the entire thing. When Google Address is added to your Spiffy account, Spiffy Checkouts will populate a list of nearby addresses to your customer that match what they are entering into their checkout.
By default, all Spiffy accounts have this functionality automatically integrated up to a certain number of orders per month.
- Spiffy Pro accounts are automatically supported for the first 250 orders per month.
- Spiffy Business & Enterprise accounts are automatically supported for the first 500 orders per month.
💡 Recommended: Enabling Google Address Autocomplete greatly enhances user experience and reduces the chances of shipping mistakes caused by misspelled addresses.
You only need to use this integration if you:
- Process a high volume of orders every month
- Collect addresses from your customers on Checkouts for the high volume of orders
- And want Google Maps Address autofill to assist your buyers in entering their information faster
How to Connect Google Address
Setting up this integration has several steps that will need to be completed outside of Spiffy first.
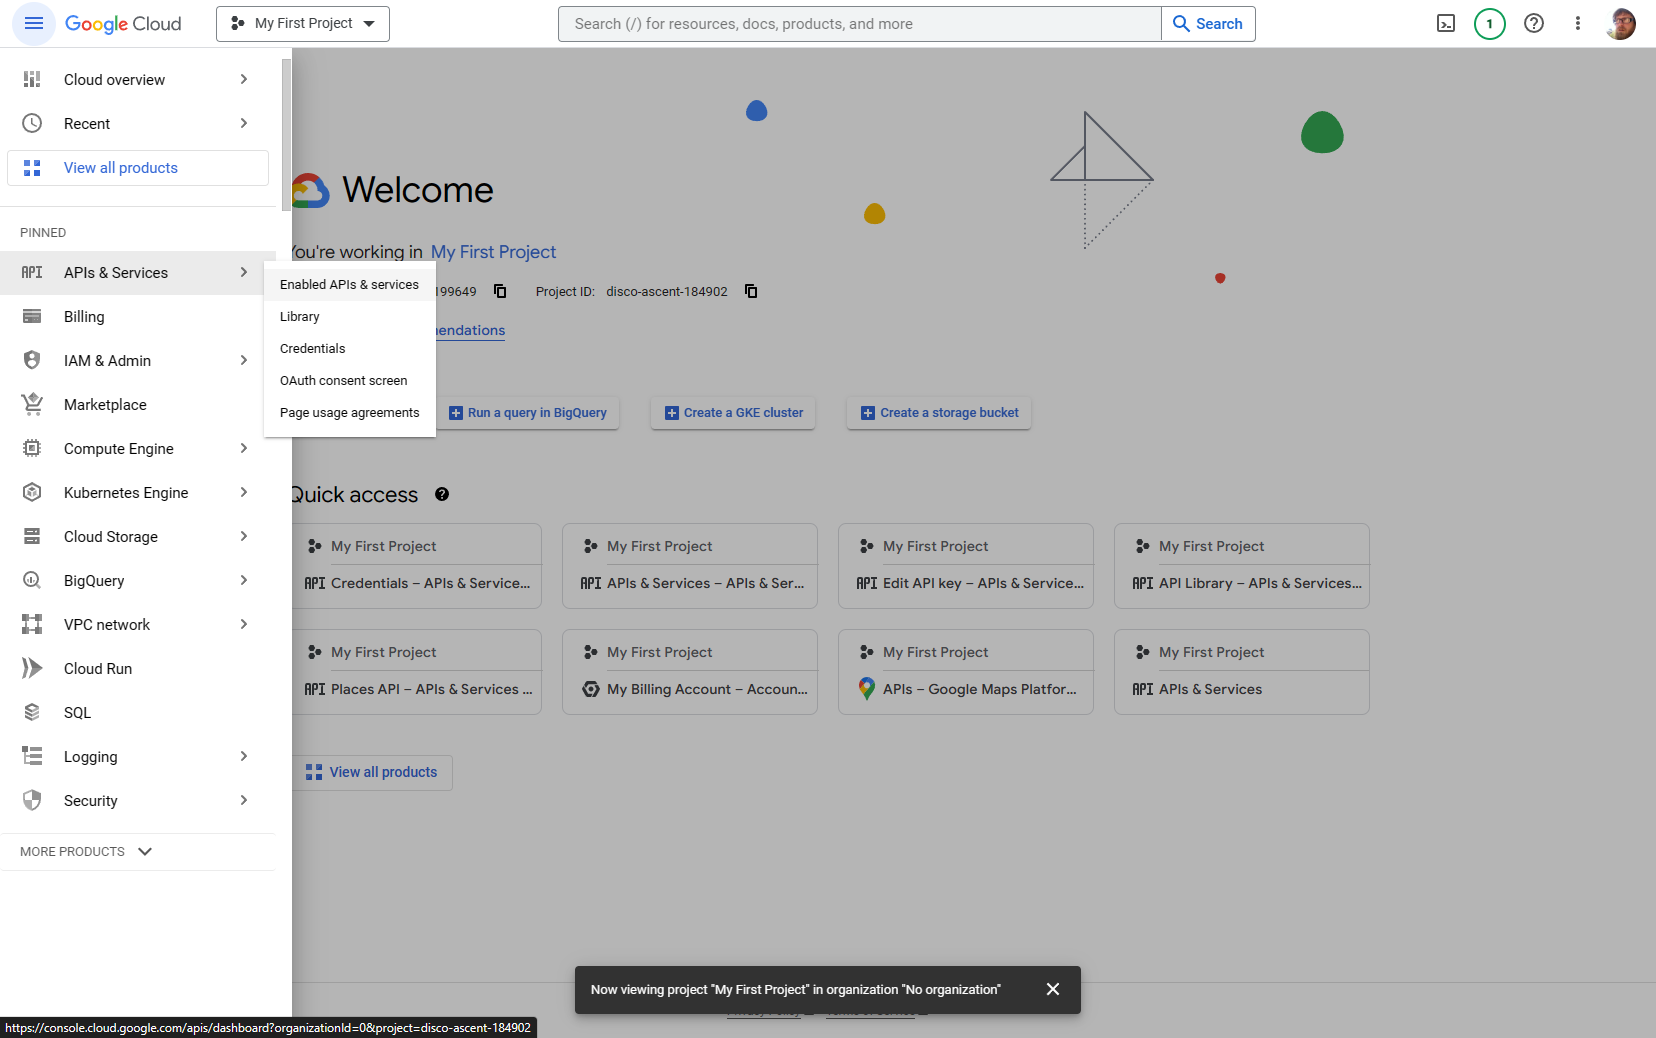
Go to the Google Cloud Console
First, go to the Google Cloud Console and sign in with your Google account. If you don’t have a Google account, you’ll need to create one.
Next, create a New Project
- Click on the project dropdown menu at the top of the page.
- Click the New Project button (The button might say “My First Project”).
- Give your project a name.
- Choose an existing billing account, or create a new account.
- Click Create.
Enable the ‘Maps JavaScript API’ and the ‘Places API’
- In the Google Cloud Console dashboard, click on the hamburger menu (the three horizontal lines) in the upper left corner.
- Go to APIs & Services > Library.
- In the API Library, search for Maps JavaScript API and click on the result.
- Click the Enable button to enable the API for your project.
- Repeat these sames steps to enable the Places API.
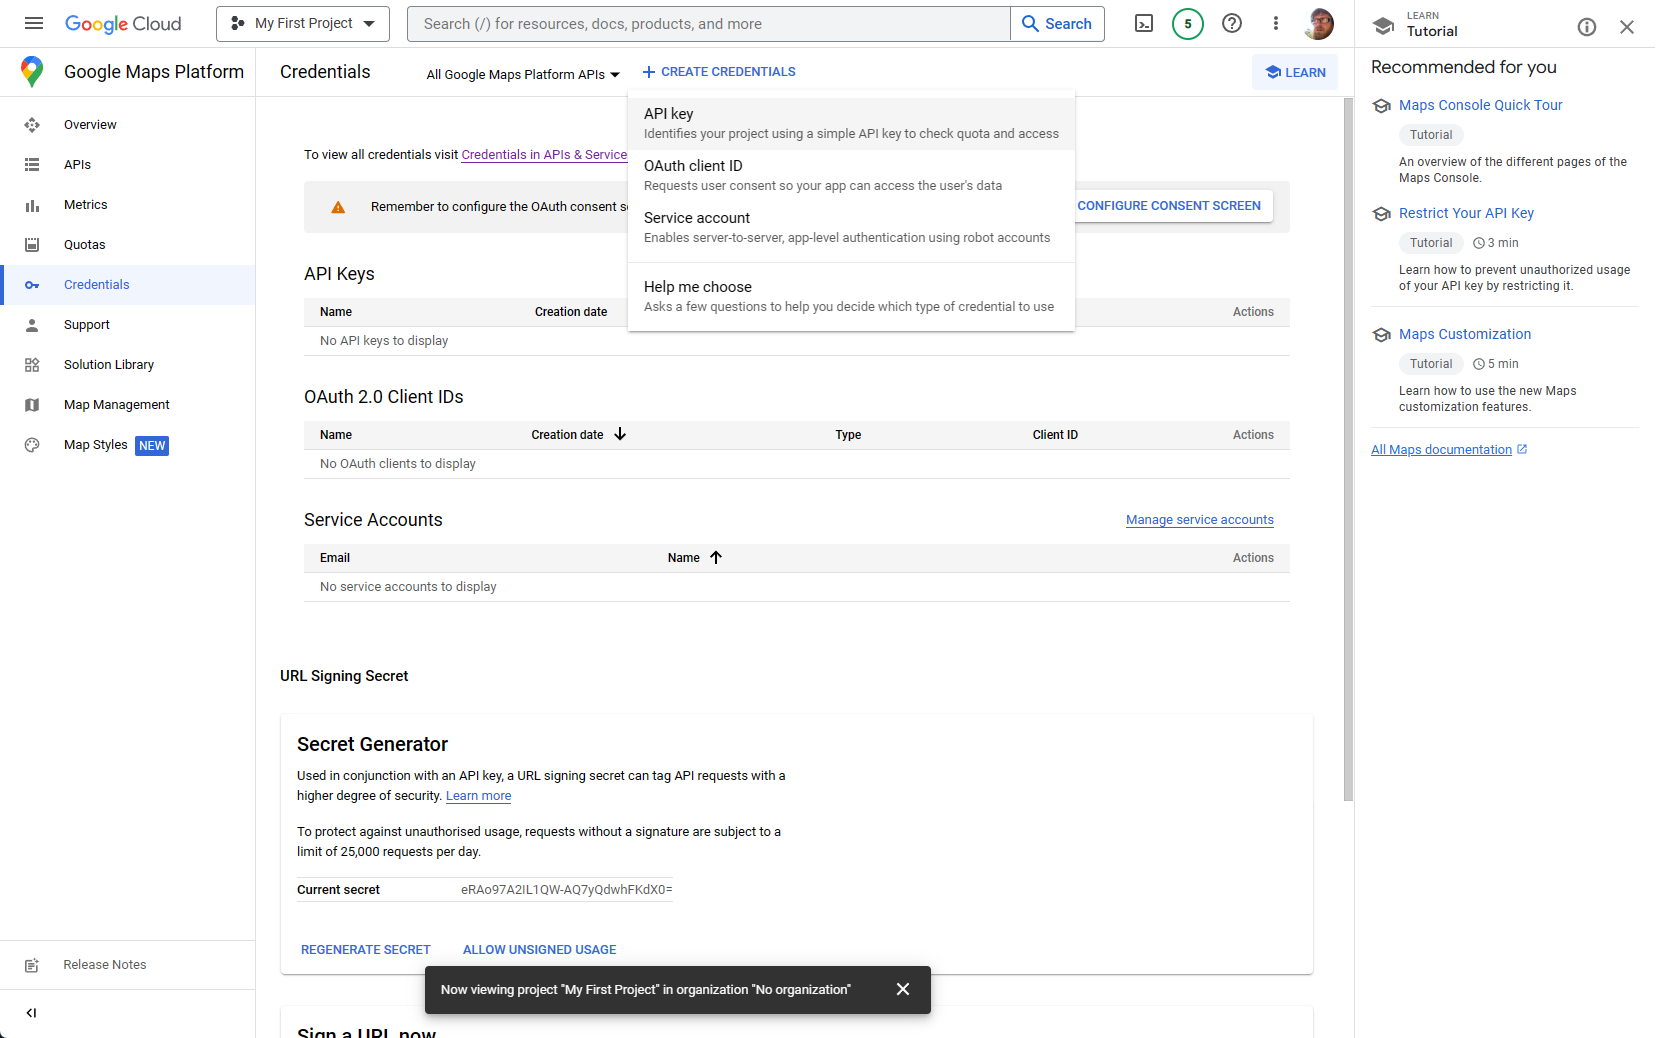
Generate API Key
You’ll be redirected to the API Dashboard. From here, click on Create Credentials at the top of the page. Choose API key from the options, and the API key will be generated.
Set Up Key Restrictions
Next, set up restrictions so that your API key will work with your Spiffy application.
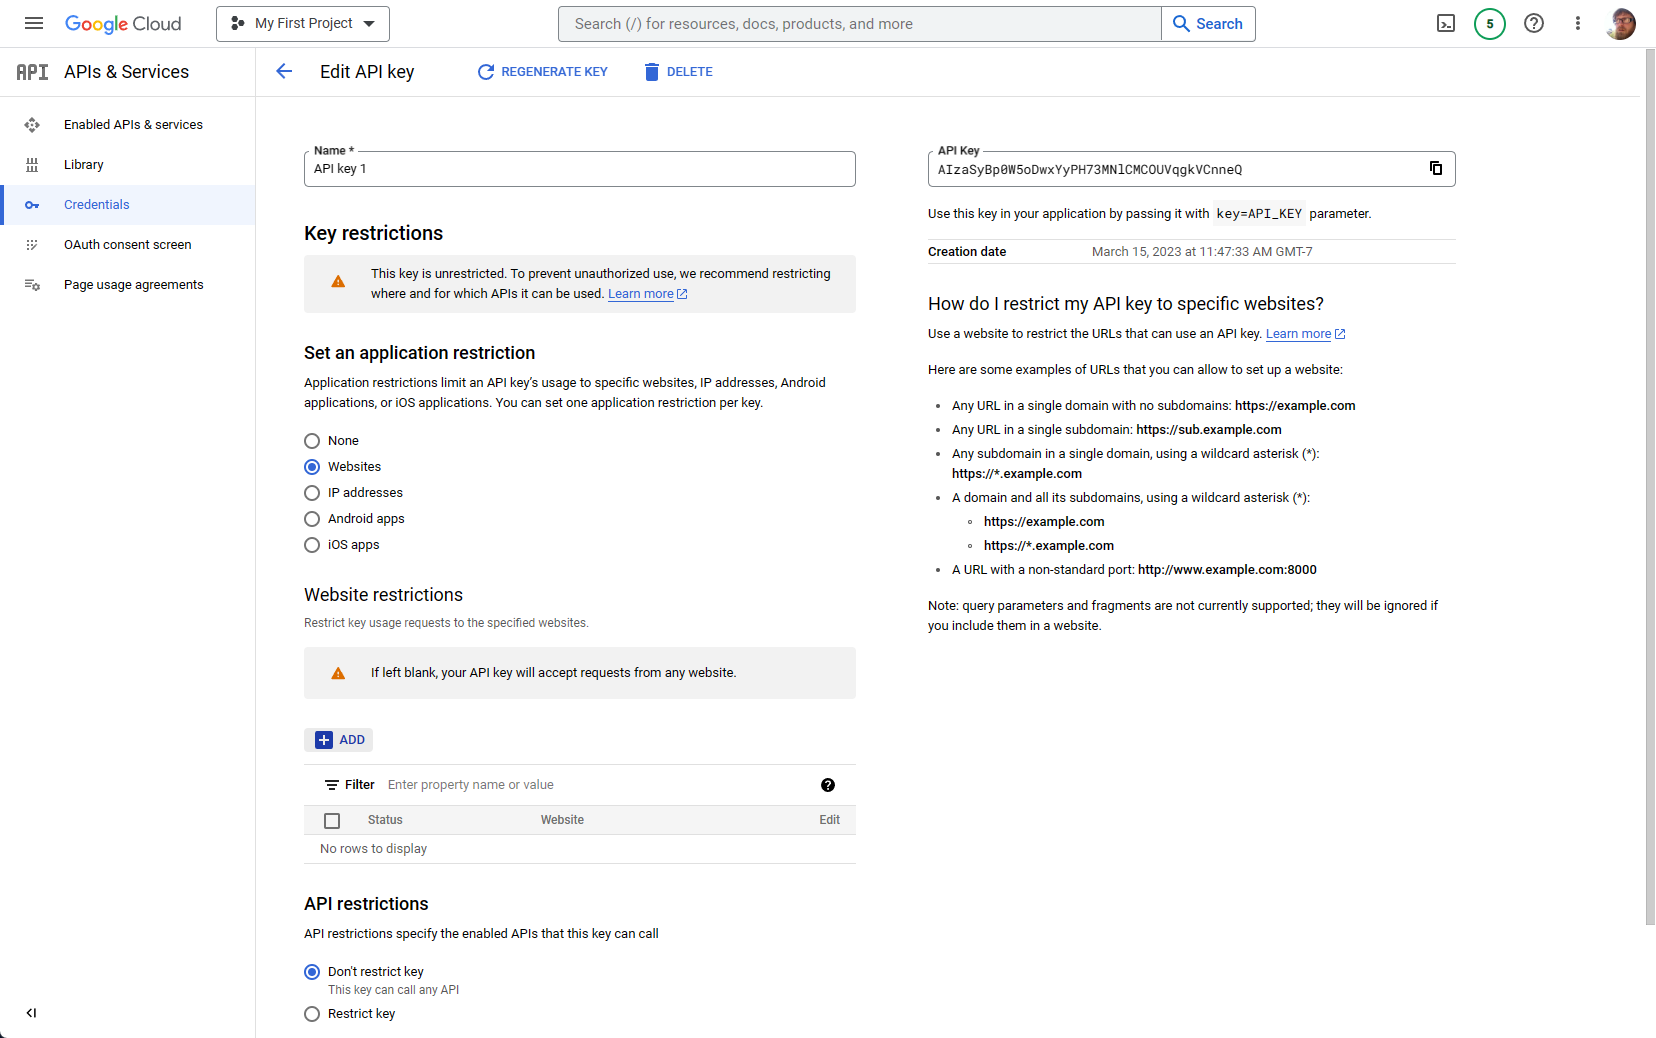
- On the API Dashboard, under API Keys click on the name of your API key. This will redirect you to the Key Restriction configuration.
- Use the Set up an application restriction section to add your Spiffy URL.
- Start by selecting the Website radio button.
- Under Website restrictions, click the ‘+ADD‘ button.
- Enter your Spiffy application’s URL. If you have set up a Custom Domain for your Spiffy application, you will use that URL instead. Once entered, click DONE.
Configure API Key
Next, configure your API key to use the Maps JavaScript API and the Places API

- Under the API Restrictions section, click the Restrict Key radio button.
- Using the Select APIs dropdown, find Maps JavaScript API as well as the Places API and select them.
- Once they are selected, click ‘OK’
- Be sure to click the SAVE button at the bottom of the page.
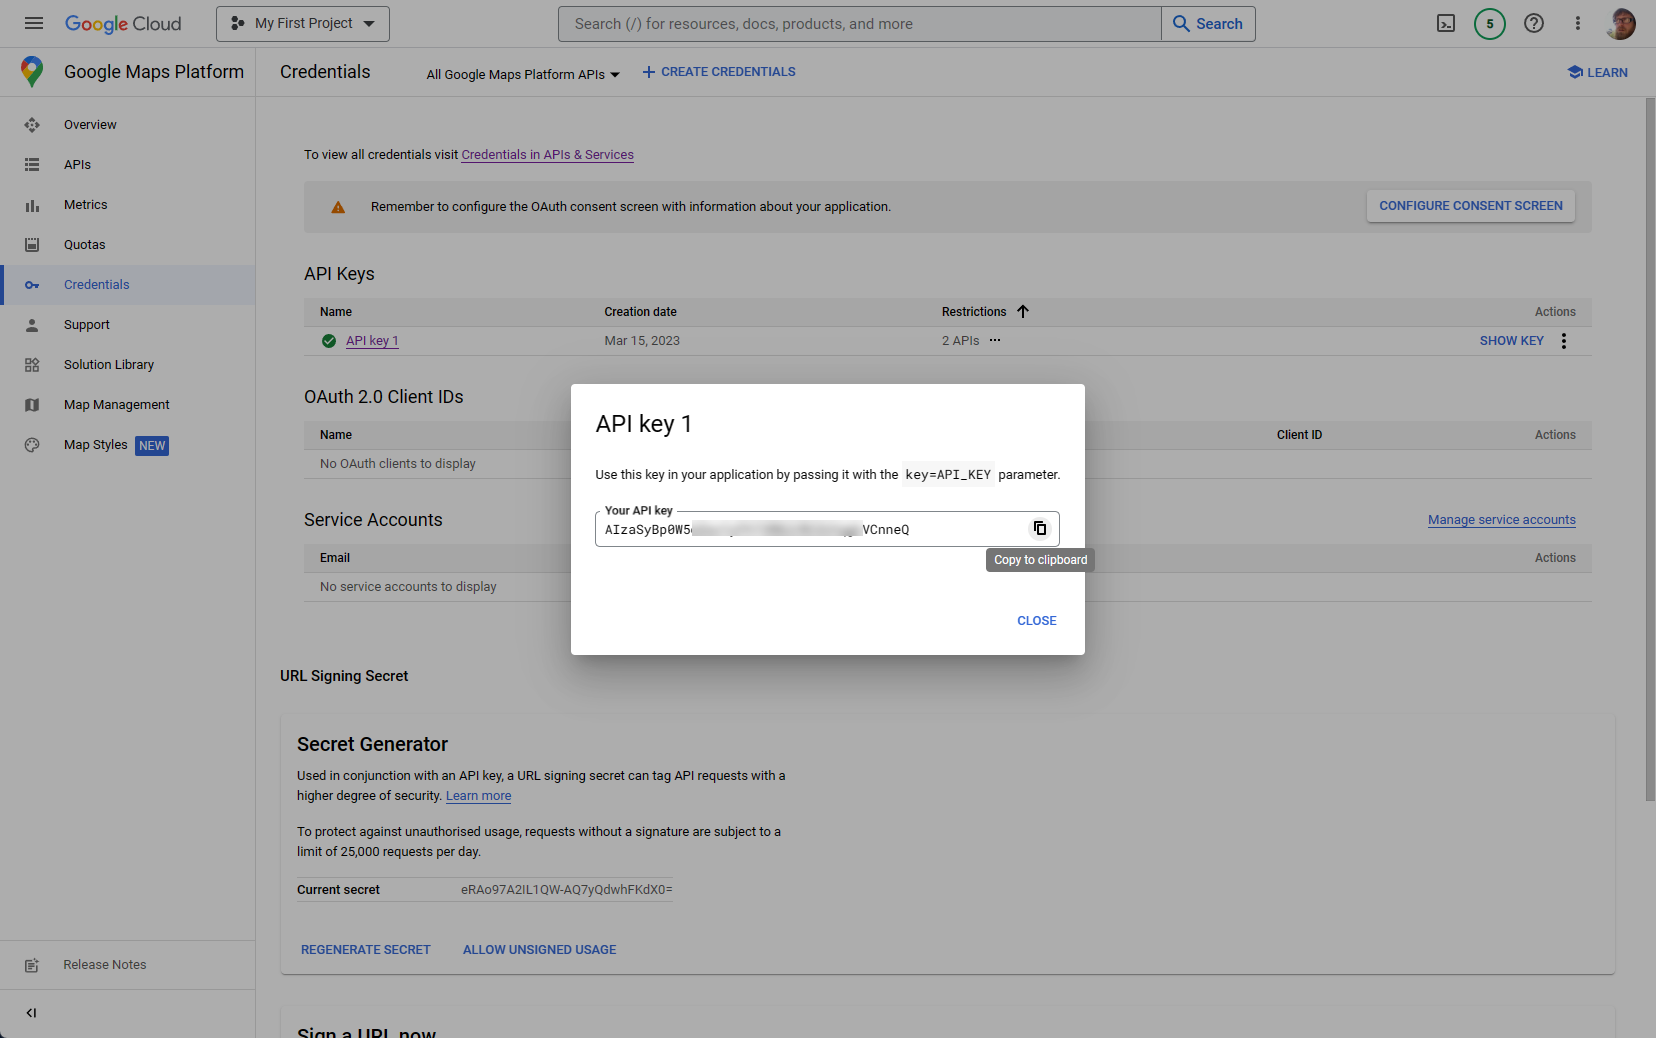
View and Copy API Key
After saving, you will be redirected back to the API Dashboard. From here, you will be able to view and copy your API Key that will be needed to connect the Google Address integration in Spiffy! On the API Dashboard, under the API Keys section, click Show Key and copy the provided API Key.
Add API Key to the Google Address Integration
Finally, head back to Spiffy and add the API key to the Google Address integration.

- Under your Account Settings click on Integrations
- Find the Google Address integration
- Paste the API Key in
- Click Enable Google Places