


With the increase in ad blockers and cookie tracking blockers, simple, cookie based tracking is becoming less and less reliable. Spiffy gives you the ability to now connect with Meta’s Conversion API to help remedy this, with more reliable tracking, when utilizing Meta Pixel.
If you have already set up and connected your base Meta Pixel with Spiffy, and want to connect the Meta Conversion API, just follow this overview.
If you have not set up Meta Pixel yet, just head over to our Meta Tracking Pixel Integration Overview to start, and then return here to connect the Conversion API
Let’s get connected
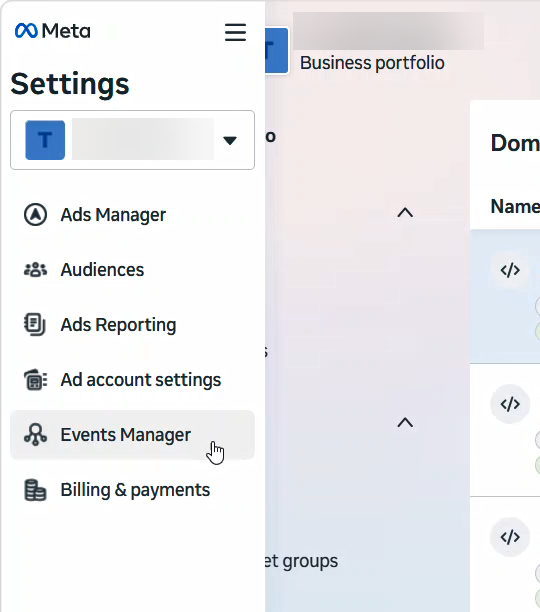
1. Click on the main hamburger menu icon at the top of the left-hand settings panel. In the expanded settings panel select Events Manager.
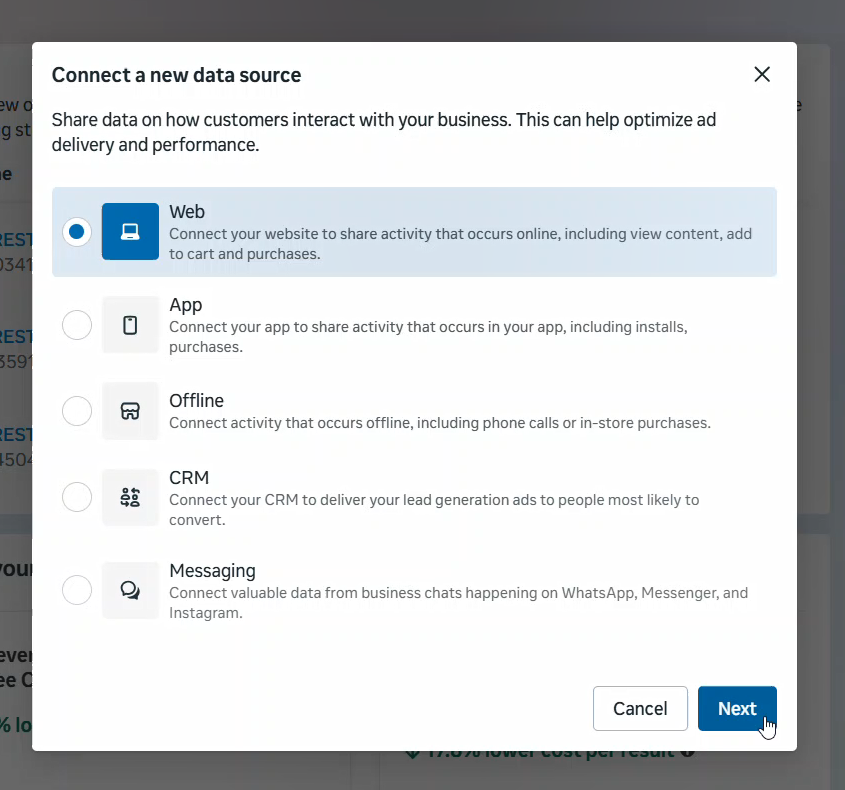
2. Inside Events Manager, click Connect Data and select Web. Click Next.
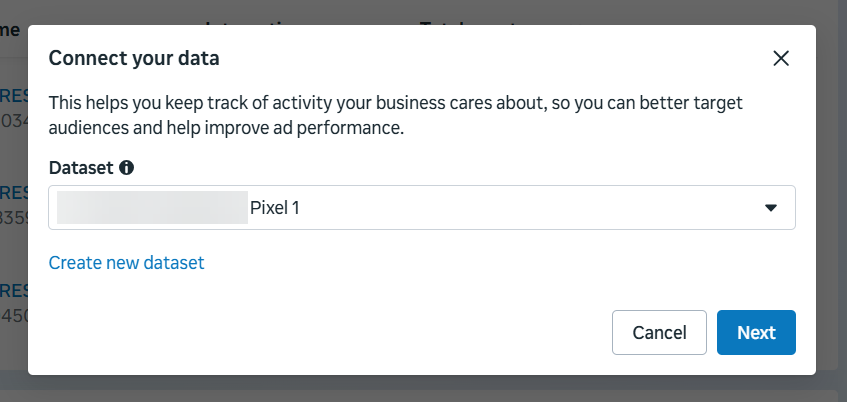
3. Select an existing Dataset or create a new one.
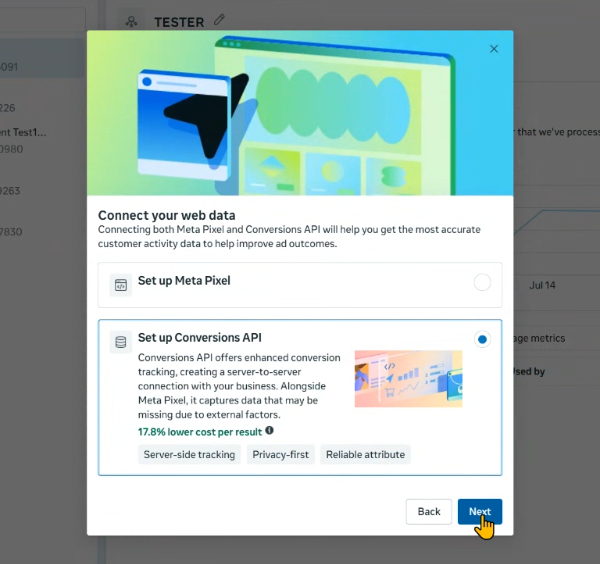
4. Select Set up Conversions API and click Next.
5. Select ‘see other ways to setup’ and select Set up manually. Click Next.
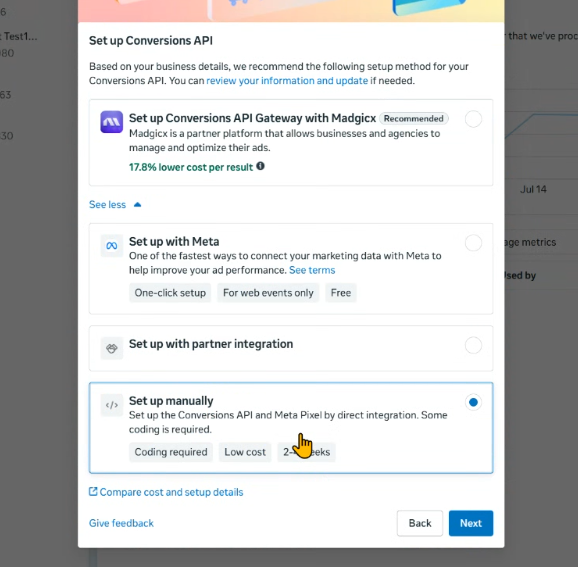
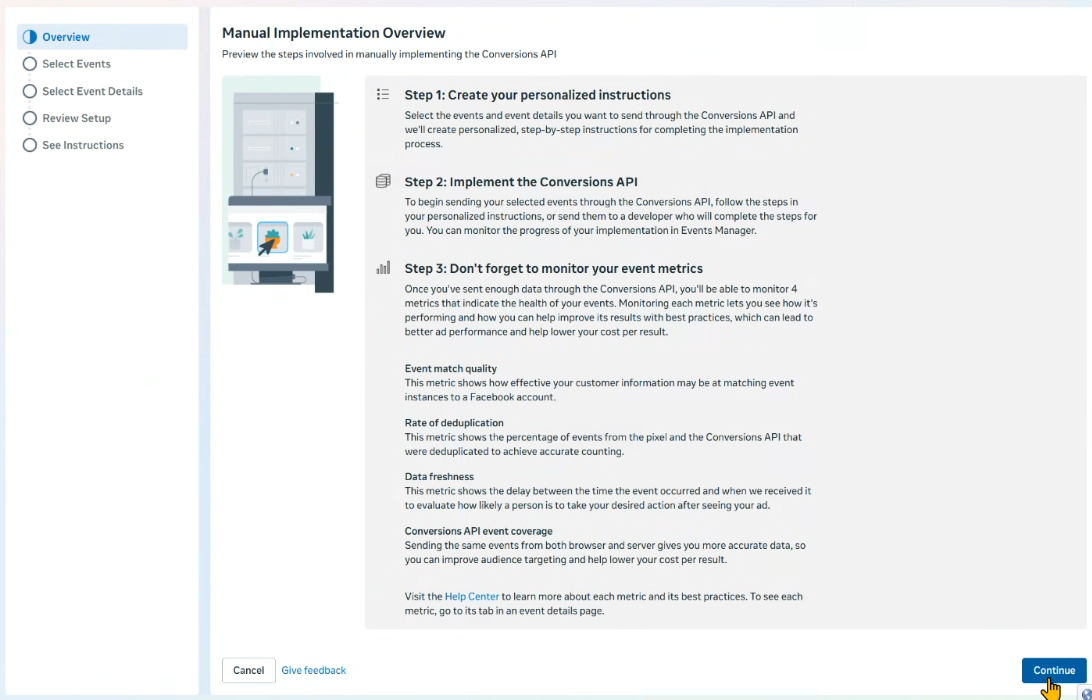
6. You will see an overview of the Conversion API setup process. Click Continue.
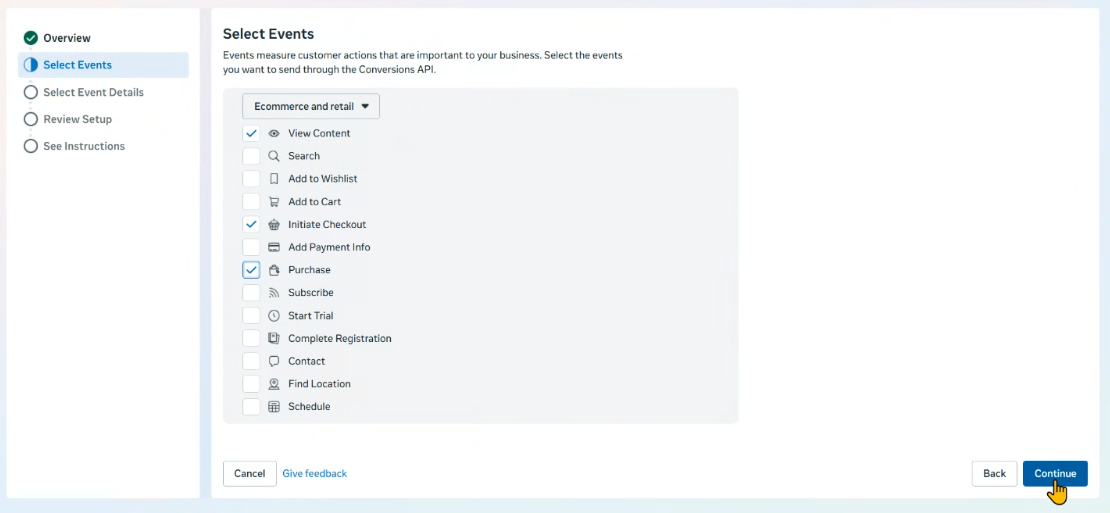
7. Check the events that you want to use. Then select Continue.
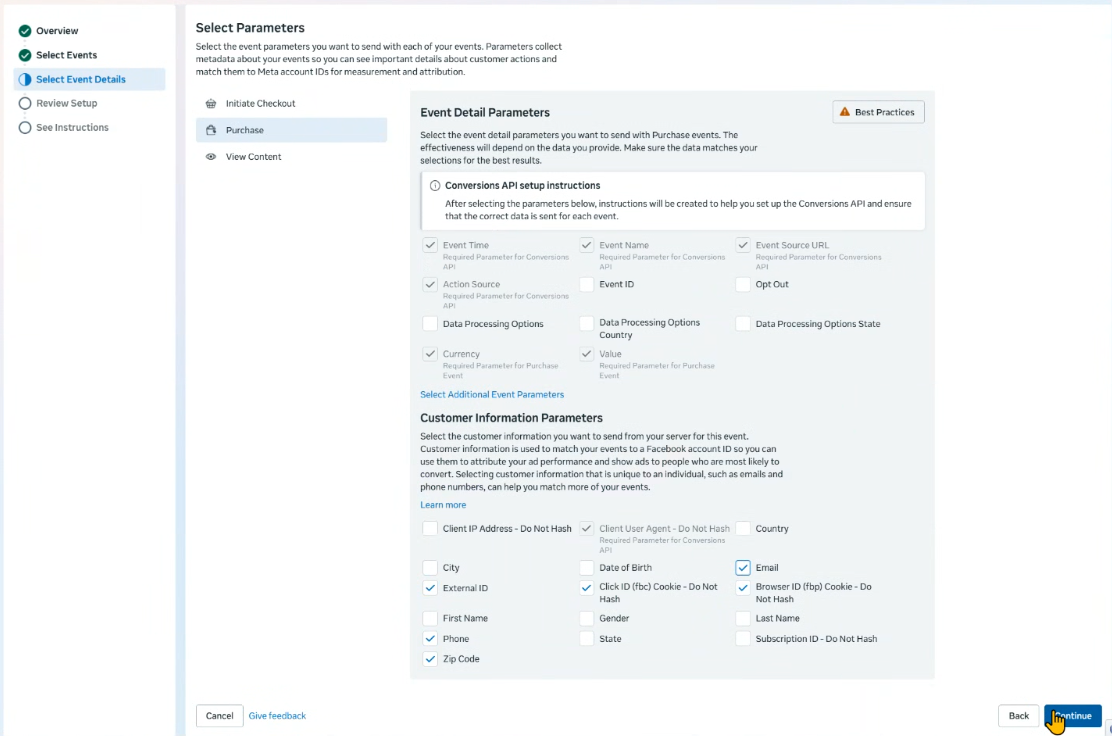
8. Select the Event Details and Customer Information Parameters that you want to use for Initiate Checkout events, and then select Purchase to setup your purchase events.
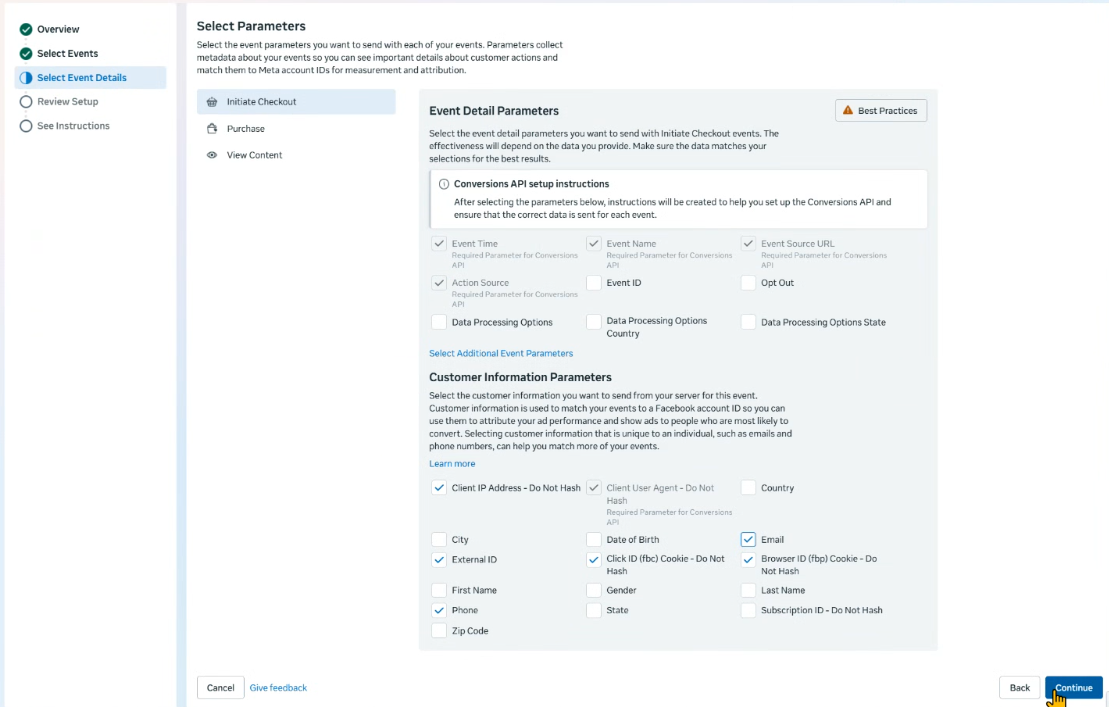
9. Click Purchase, and select the parameters that you want for Purchase Events. You can do the same for View Content as well, then click Continue when you are done.
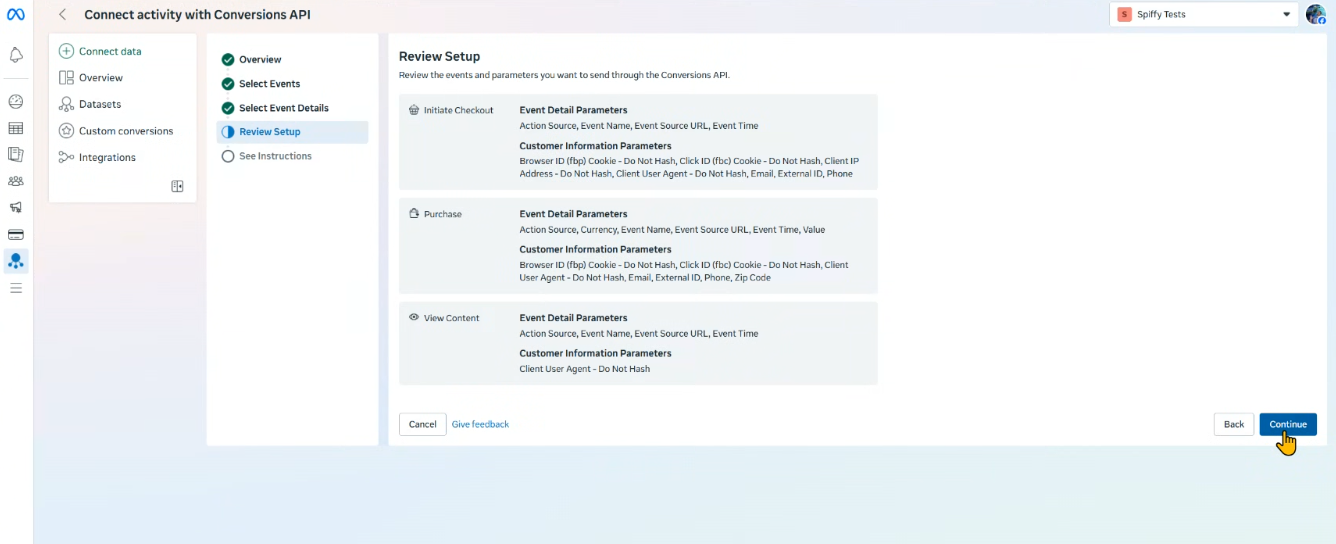
10. Review your setup to make sure all the events and parameters are setup how you would like, then click Continue in the bottom right corner.
11. Meta gives to you the option to email instructions to your team if you’d like. Then click Finish.
12. You should be taken back to your Datasets dashboard. If not, navigate to Datasets by clicking on the left-side navigation.
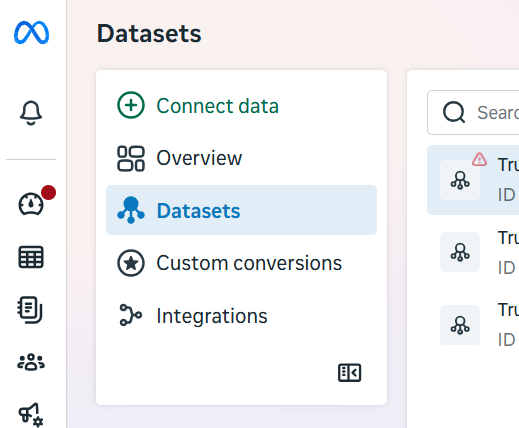
13. Then click Manage Integrations on the left side of your dashboard.

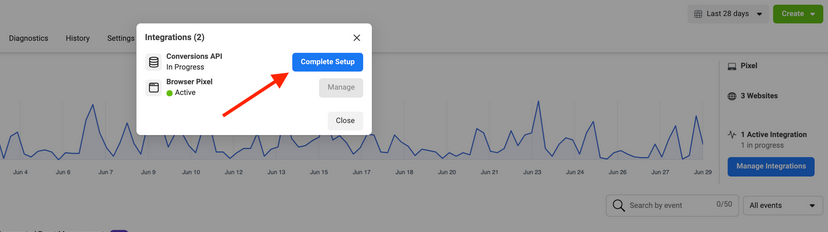
14. A window will appear, click on the button for Conversions API – it will either say Complete Setup like the screenshot below, or Manage if you’ve already set it up before.
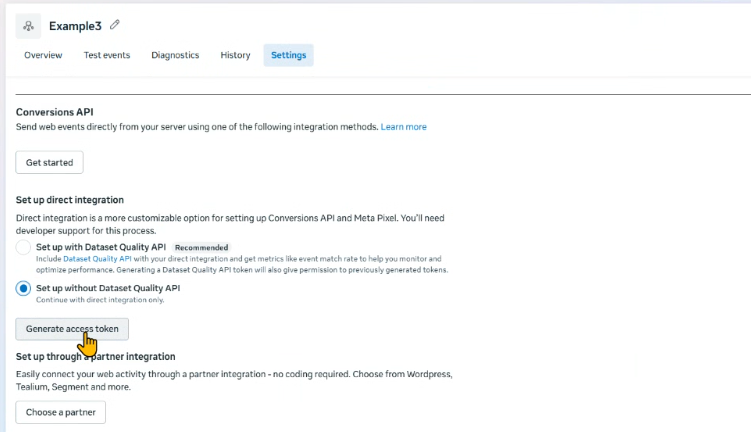
15. Under Settings, scroll down to the Conversions API section and select Set up without Dataset Quality API. Then select Generate an Access Token.
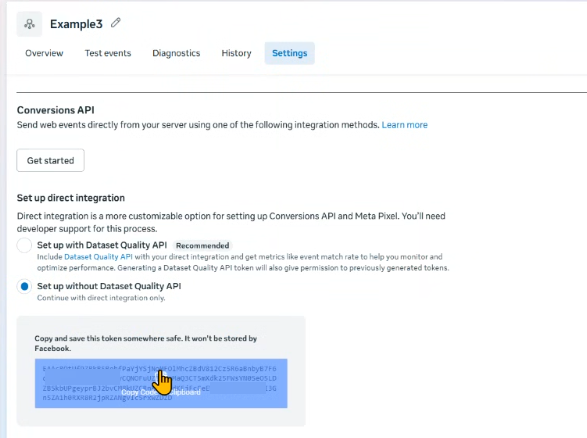
16. Meta will reveal your Conversion Access Token in a box in the middle of the screen. Click in the box to copy your access token. We will now need to paste this access token in your Spiffy Meta Pixel integration settings
17. In Spiffy, select Account Settings > Integrations and click on Meta Pixel from your list of integrations
18. Paste your Conversion API Access Token in the field labelled Conversion API Token, and save the settings
