

Connect your Customer.io account to add or remove customers in sequences based on purchases and automations in Spiffy.
Here’s a rundown of the powerful features you will have available:
- Customer Information Sync
Basic customer info will automatically sync to Customer.io - Checkout & Purchase Automation
Set up automation triggers for checkouts, upsells, billing and more, to start a sequence in Customer.io Learn More →
How to Connect Customer.io
Before getting started, you will need a few things from your Customer.io account, your:
- Site ID
- Tracking API Key
- App API Key
You can find these in Customer.io under Settings > Workspace Settings.
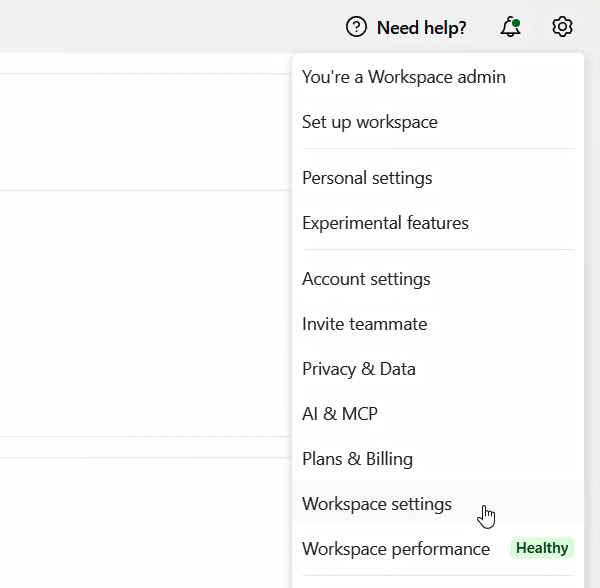
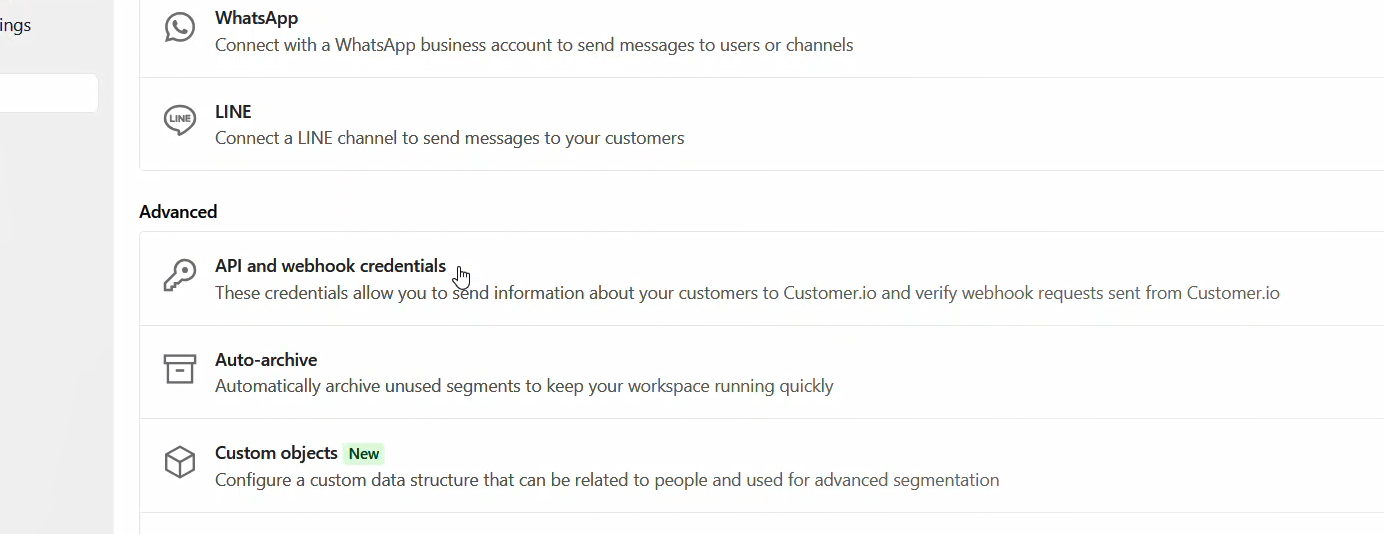
Scroll down to Advanced and select API and webhook credentials.
Inside the API credentials page, you will see tabs for Tracking API keys and App API keys.
On the Tracking API keys tab, create a new Tracking API Key by selecting Create Track API Key. Give it a descriptive name, so you know this key was created specifically to connect to Spiffy.
Click Create Track API Key again to generate a Tracking API Key and Site ID.
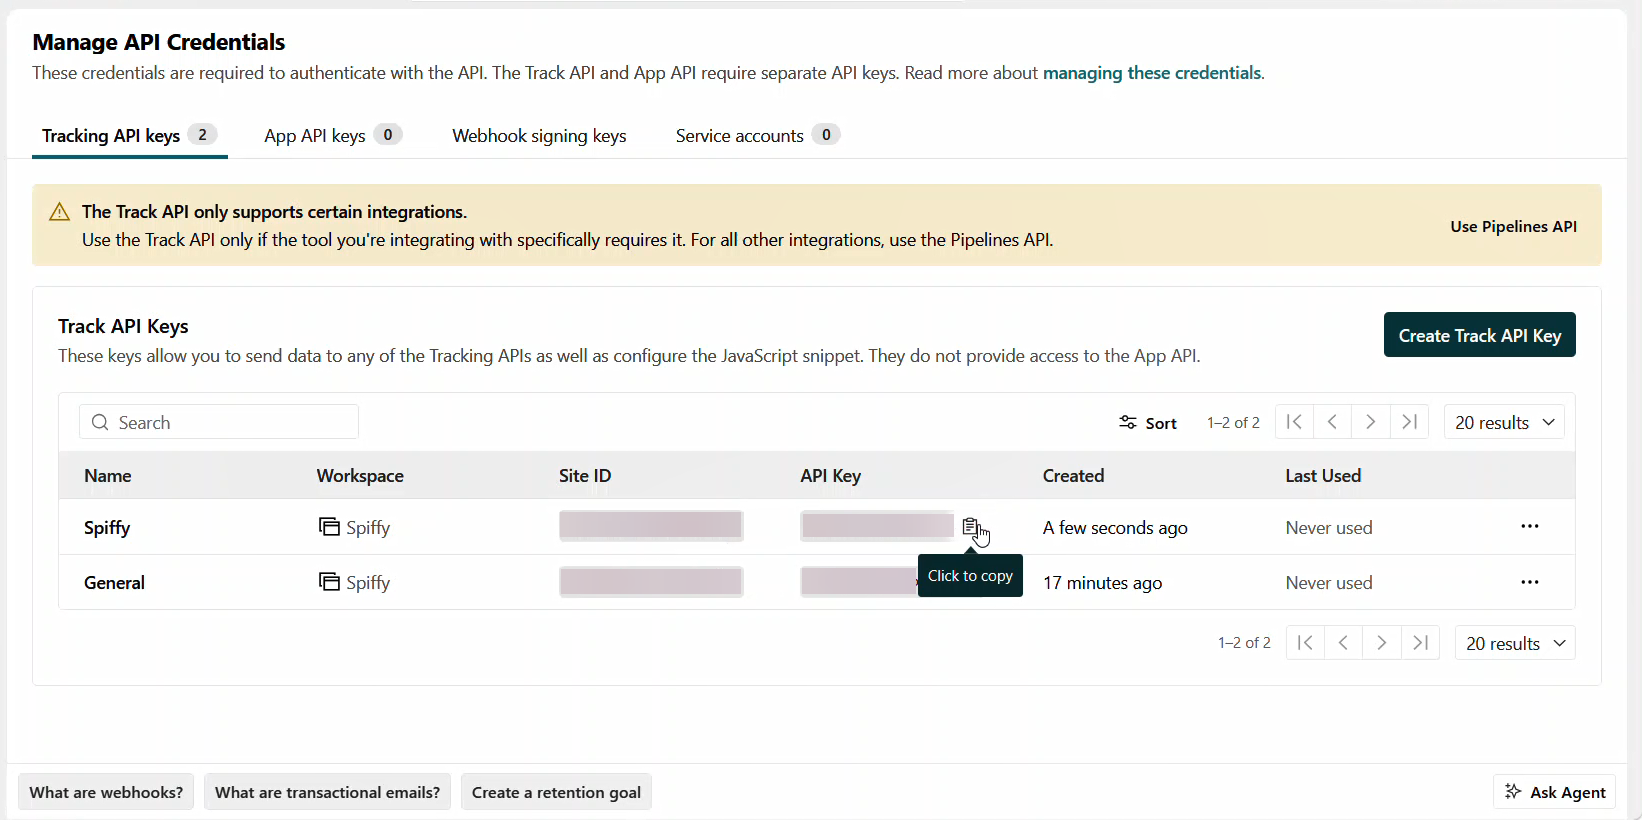
Copy and save the Tracking API Key and Site ID somewhere secure.
Next, on the App API keys tab, select Create App API Key. Give it a descriptive name, so you know this key was created specifically to connect to Spiffy. Copy and save this somewhere secure.
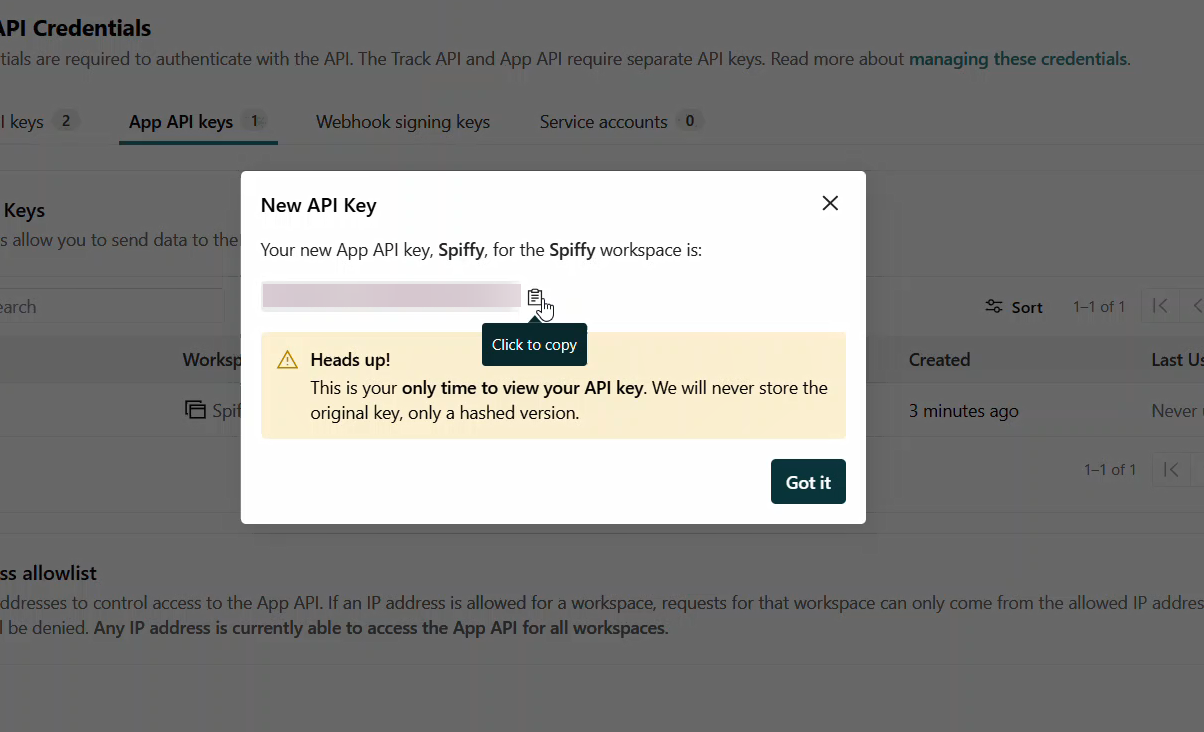
Important: Once you close the window in Customer.io that shows your App API key, you will not be able to view it again.
Back in Spiffy, click Account Settings > Integrations and select Customer.io from the list of available integrations.
In the box that appears, input your Site ID, Tracking API Key and App API Key.
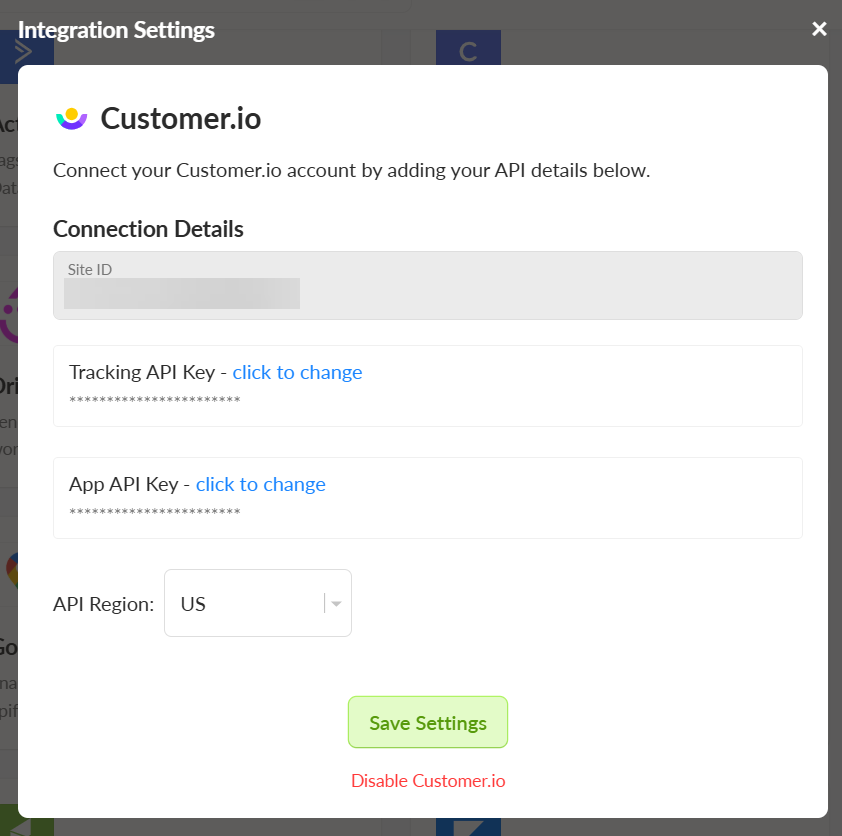
Select Enable Customer.io
You’ve now connected your Customer.io account to Spiffy, don’t forget to set up Automations!
Learn more about Automations →
Automation Actions
Once you’ve connected your Customer.io account you will now be able to:
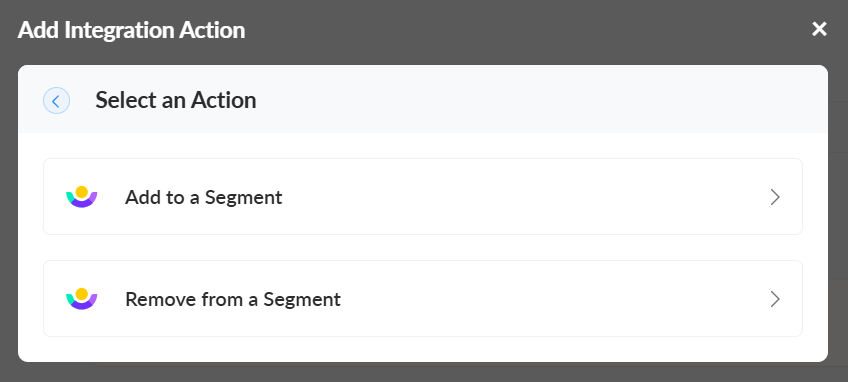
- Add to / Remove from a Segment