Directly integrate your TikTok Business Ads Manager to your Spiffy account without setting it up through Google Tag Manager – although you can still do that too.
Below are the steps to creating a new TikTok pixel.
If you already have a TikTok pixel created with the correct events you can skip the steps below and just add your existing Pixel to the Spiffy TikTok integration.
- Create a TikTok Pixel
- Copy your Pixel ID from your TikTok account
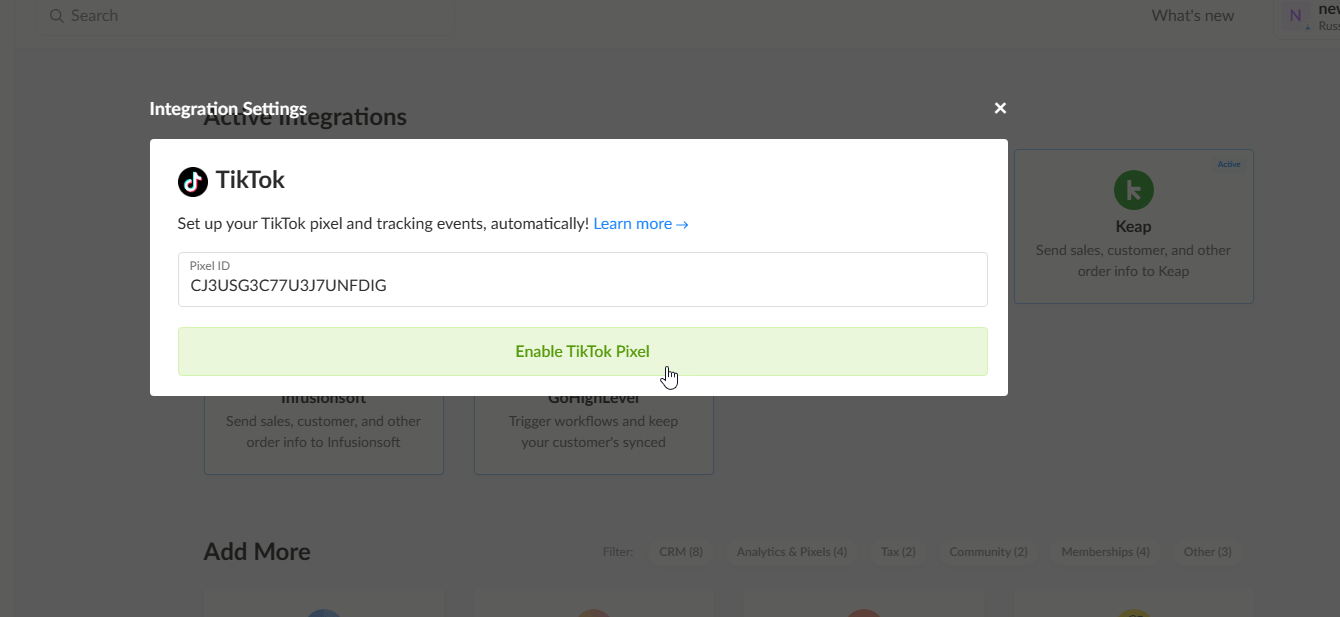
- Paste your Pixel ID into the integration settings in Spiffy
As always, if you have any questions please don’t hesitate to reach out via email at support@spiffy.co
How to Create & Integrate TikTok Pixel
1. Click on Tools at the top, and select Events under the Management column

2. Find Web Events and click Manage

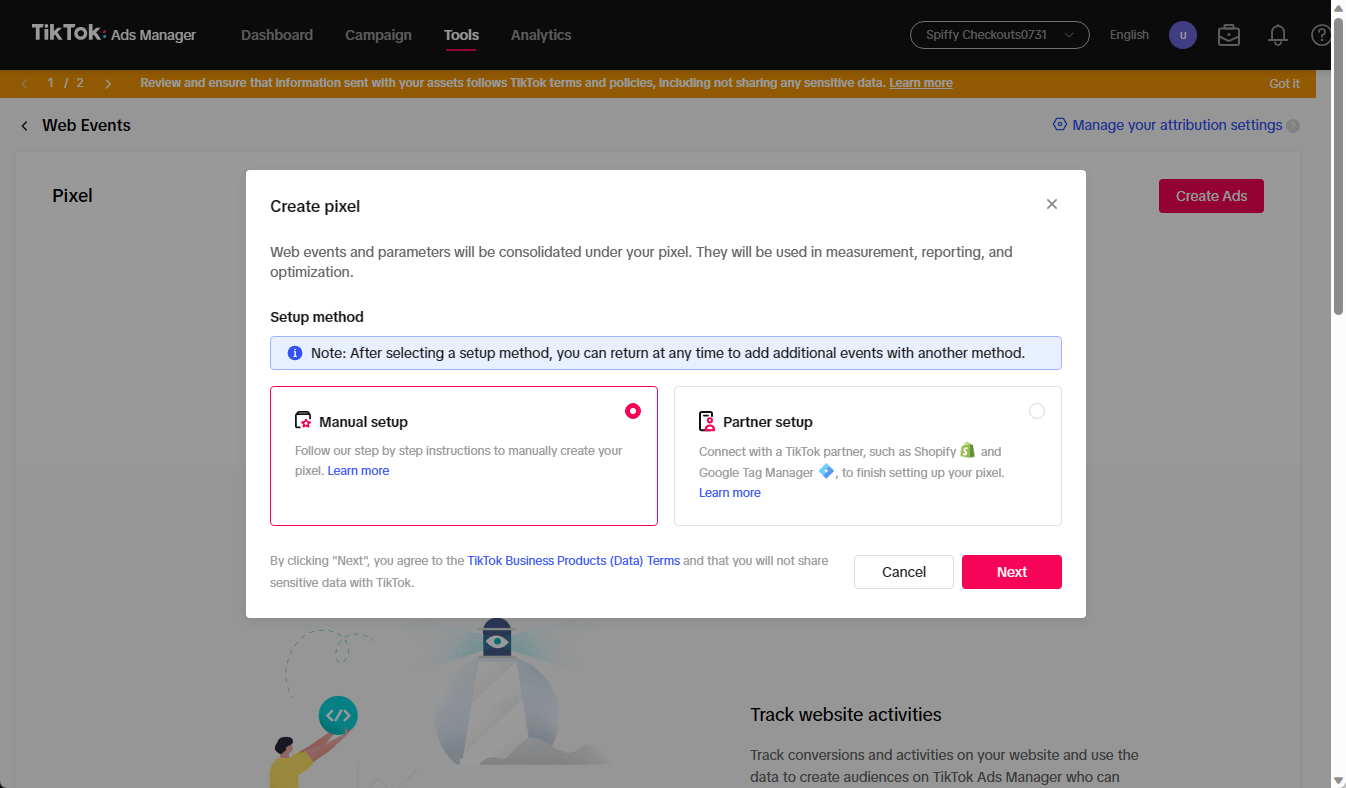
3. Click Create Pixel

4. Choose Manual Setup
5. Give your Pixel a Name

6. Find the events that you wish to use. We support Initiate Checkout and Place an Order, but you can set up custom events for your specific use-case.
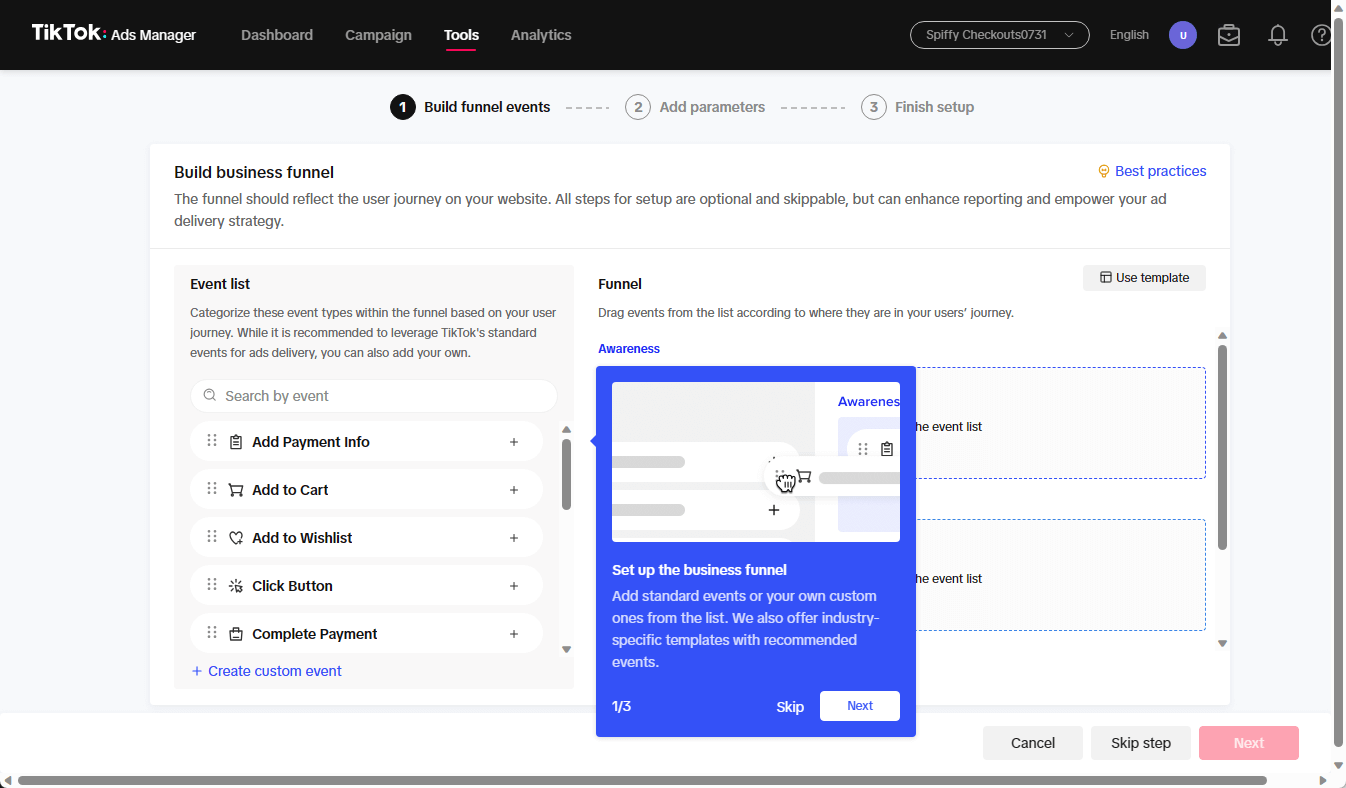
7. Drag events from the list into your “Funnel Stages” and click Next.

8. Select Events API and Custom Code

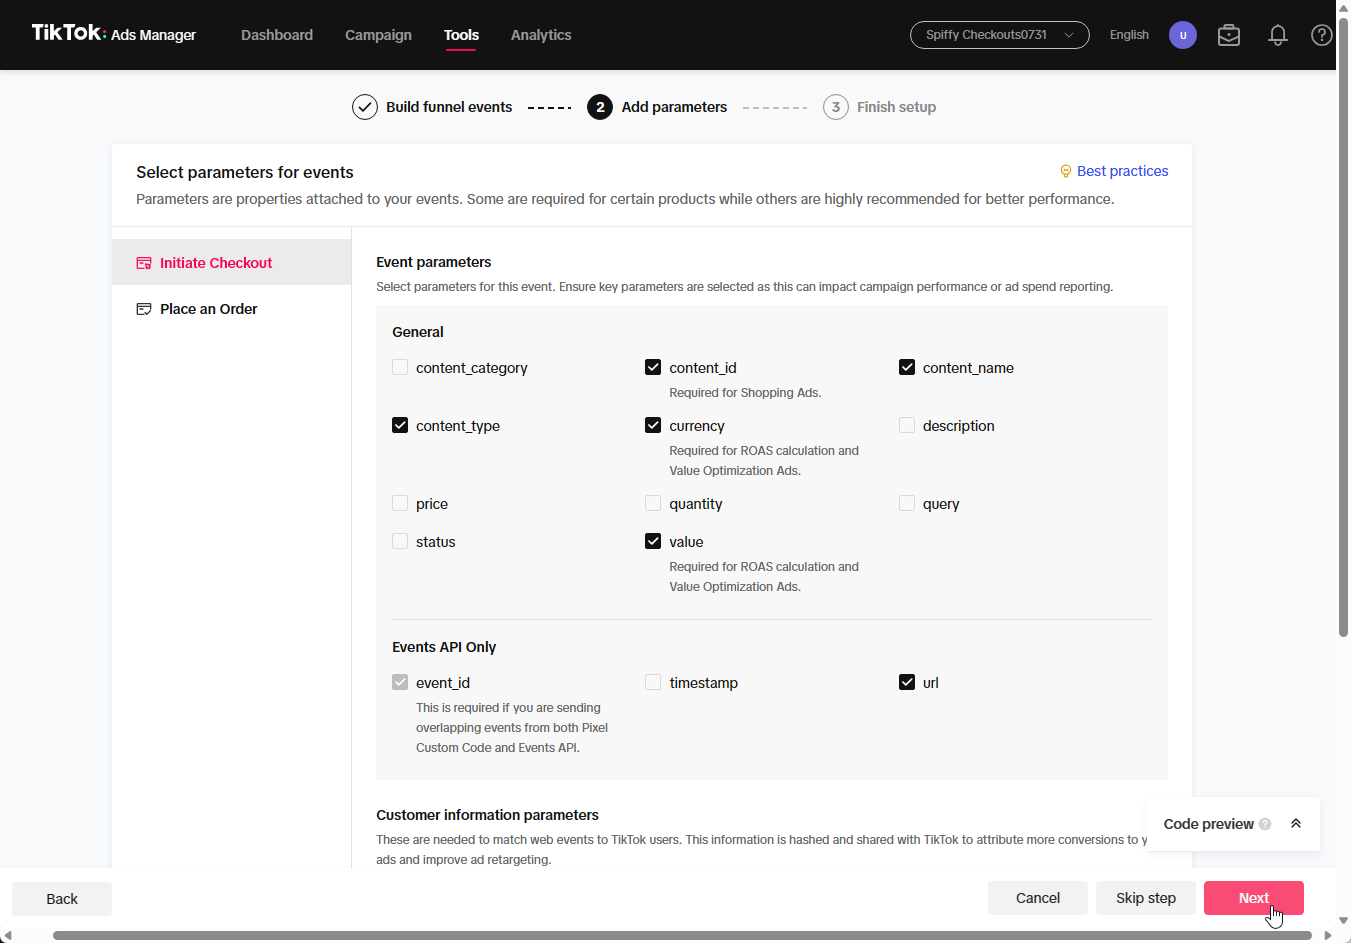
9. Select specific parameters for each of your events, click Next
10. Click Finish

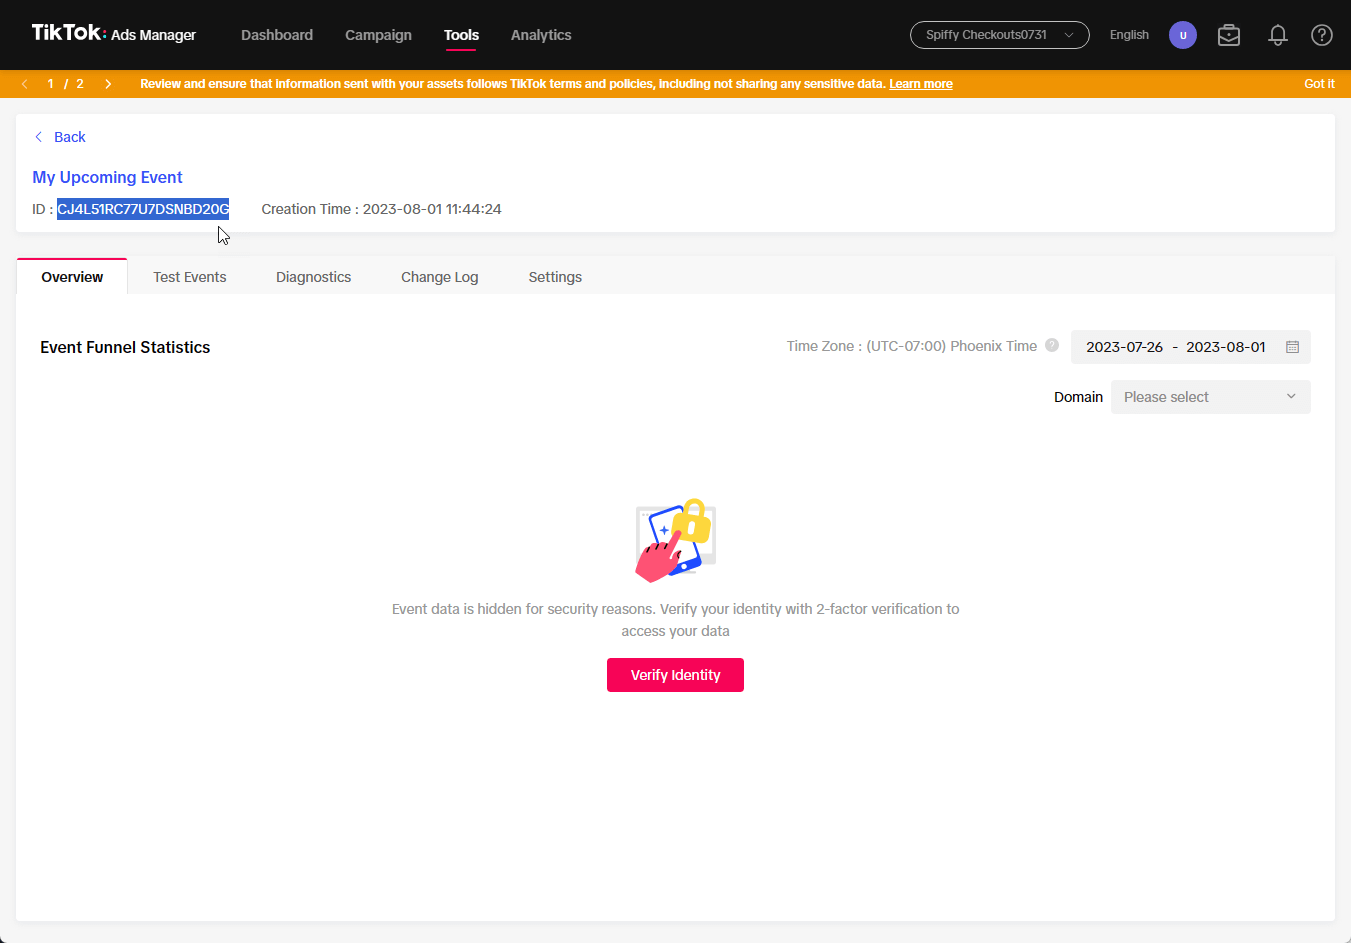
11. Find and copy your Pixel ID under the name of your Pixel
12. Navigate to the TikTok Pixel integration in Spiffy. Paste your Pixel ID & click enable.