Connect your Drip account in a few simple steps with direct integration.
Here’s a rundown of the powerful features you will have available:
- Customer Information Sync – Basic customer info will automatically sync to Drip
- Start / Stop Workflows
- Add / Remove Tags
- Field Mapping / Custom Fields – You can map and sync fields in Spiffy to custom fields in Drip. Learn More →
How to Connect Drip
Drip uses open authorization, so as long as you are logged in to your Drip account you can easily connect to Spiffy.
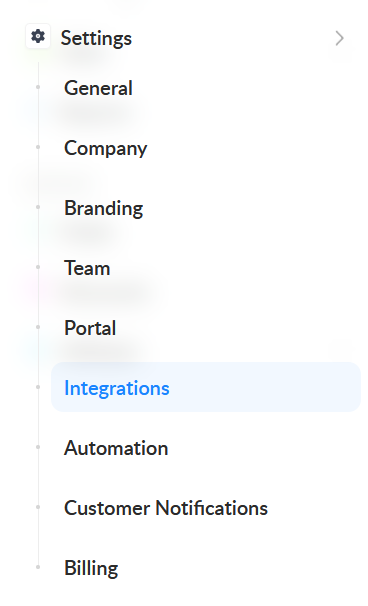
1. In Spiffy, at the bottom of the left navigation bar, click on Settings > Integrations
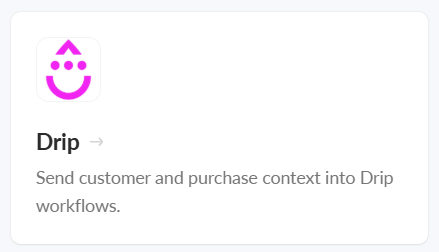
2. Find and select Drip from the list of available integrations
3. Click Connect Drip
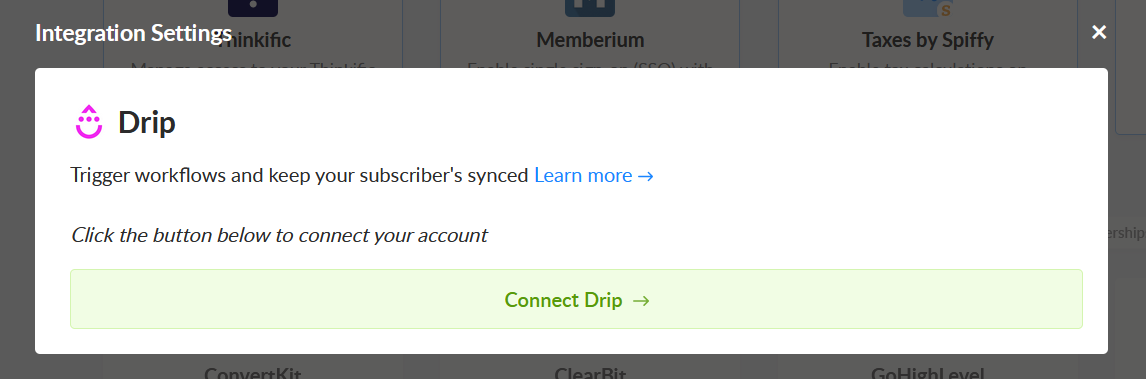
4. Grant access to Spiffy in your Drip account

5. Click Save Settings

You’ve now connected your Drip account to Spiffy, don’t forget to set up Automations!
Learn more about Automations →