

Connect your Slack account in a few simple steps with Spiffy’s direct integration.
Send channel messages to your Slack account based on automation events set up in Spiffy at the Checkout level, Product and Subscription level, or at the Account level.
How to Connect Slack
Slack uses open authorization, so as long as you are logged in to your Slack account you can easily connect to Spiffy.
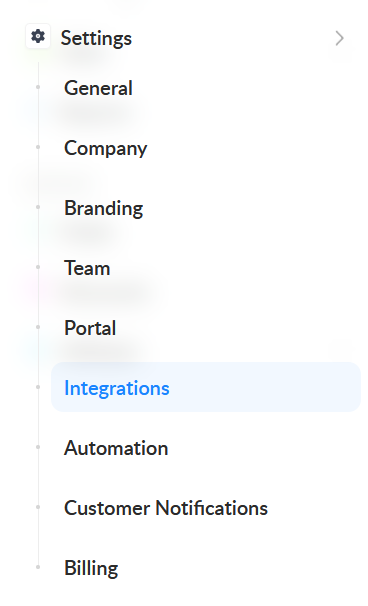
1. In Spiffy, at the bottom of the left navigation bar, click on Settings > Integrations
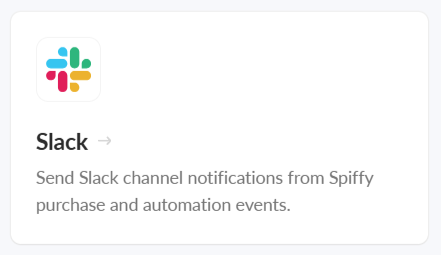
2. Find and select Slack from the list of available integrations
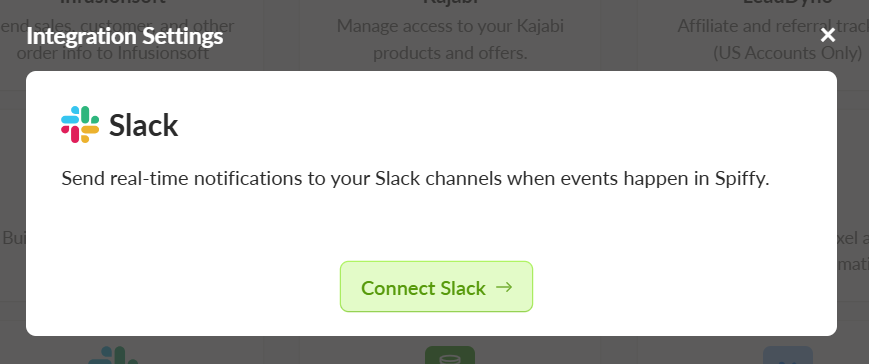
3. Click Connect Slack
4. Select your Slack Workspace from the dropdown, then click Allow to give Spiffy access to your Slack account
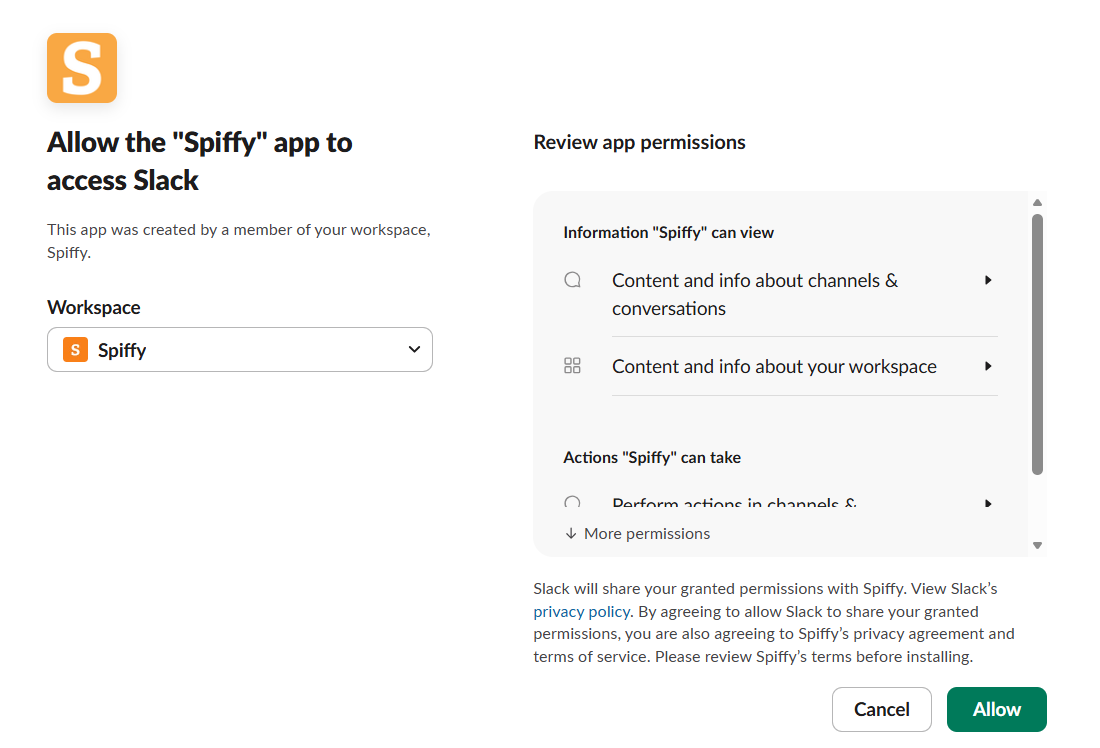
Note: Only one Slack Workspace can be connected
5. Click Save Settings
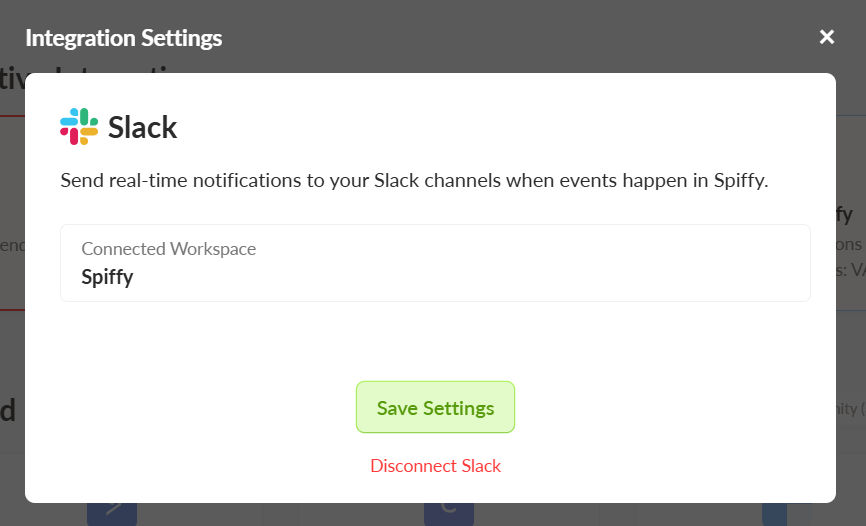
You’ve now connected your Slack account to Spiffy, don’t forget to set up Automations!
Learn more about Automations →
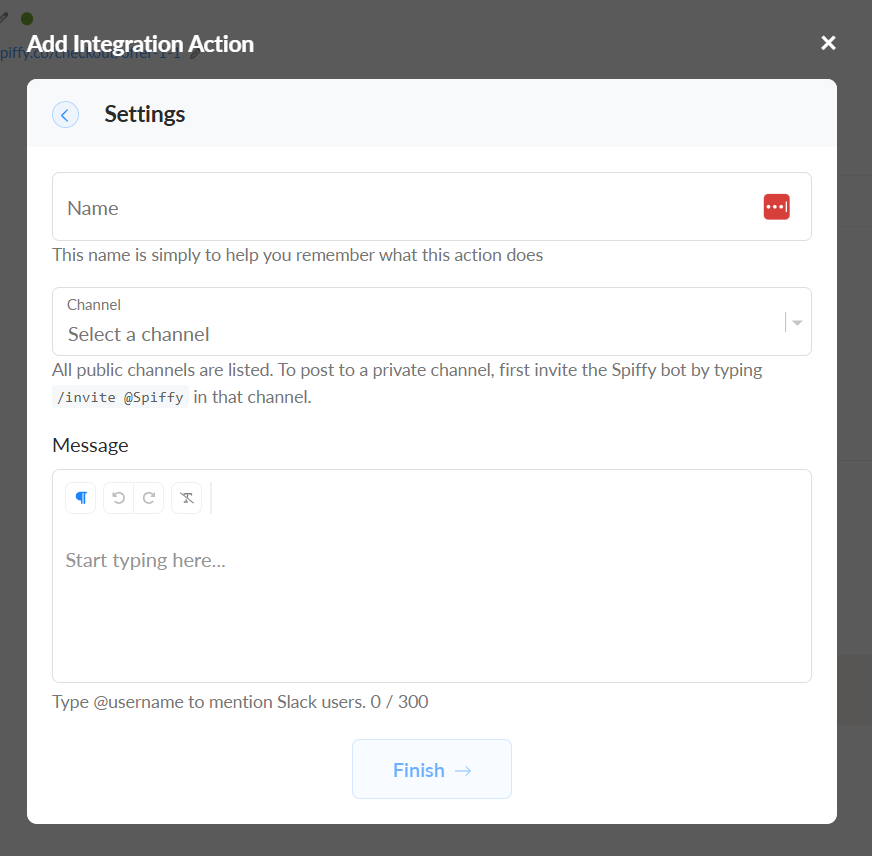
Slack Integration Action Settings
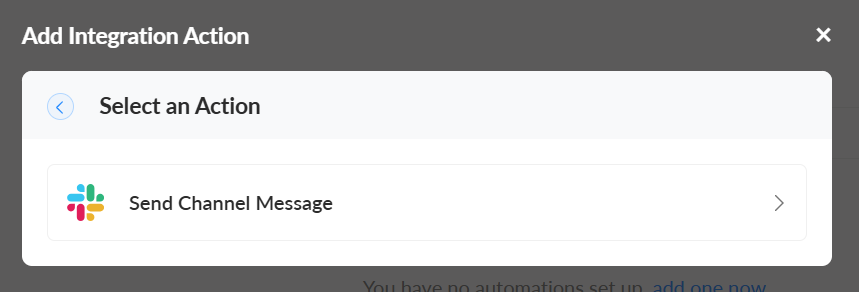
When setting up an integration action for Send Channel Message, select the Slack channel you want the message to go to, and type out the message to be sent anytime the automation is triggered. You can also add an internal name for the integration action so it’s easy to identify at a glance.