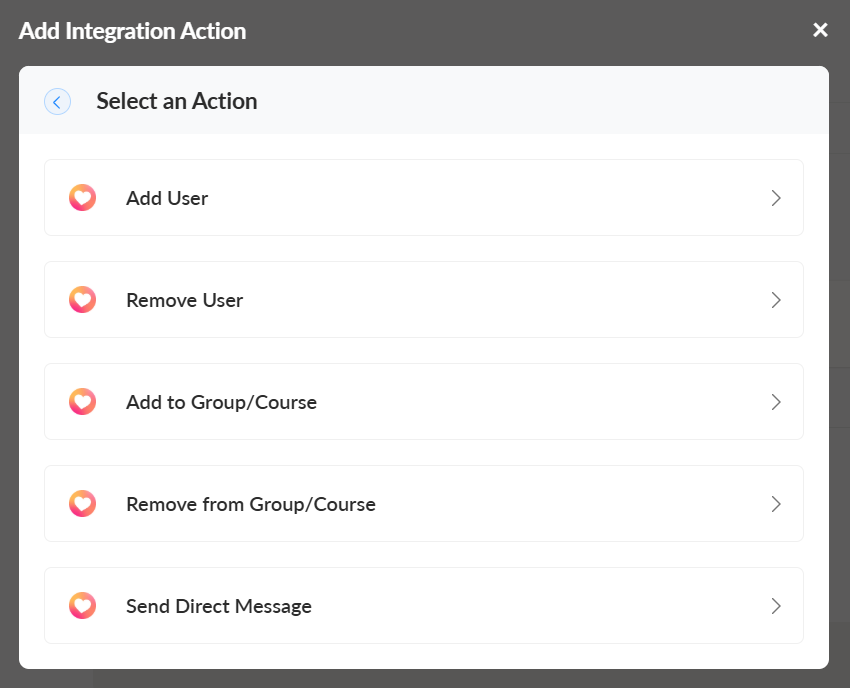


Connect your Heartbeat account to easily add users to your community and manage member access from purchases and automations in Spiffy.
Here’s a rundown of the powerful features you will have available:
- Customer Information Sync
Basic customer info will automatically sync to Heartbeat - Checkout & Purchase Automation
Set up automation triggers for checkouts, upsells, billing and more, add users or grant/revoke access. Learn More →
How to Connect Heartbeat
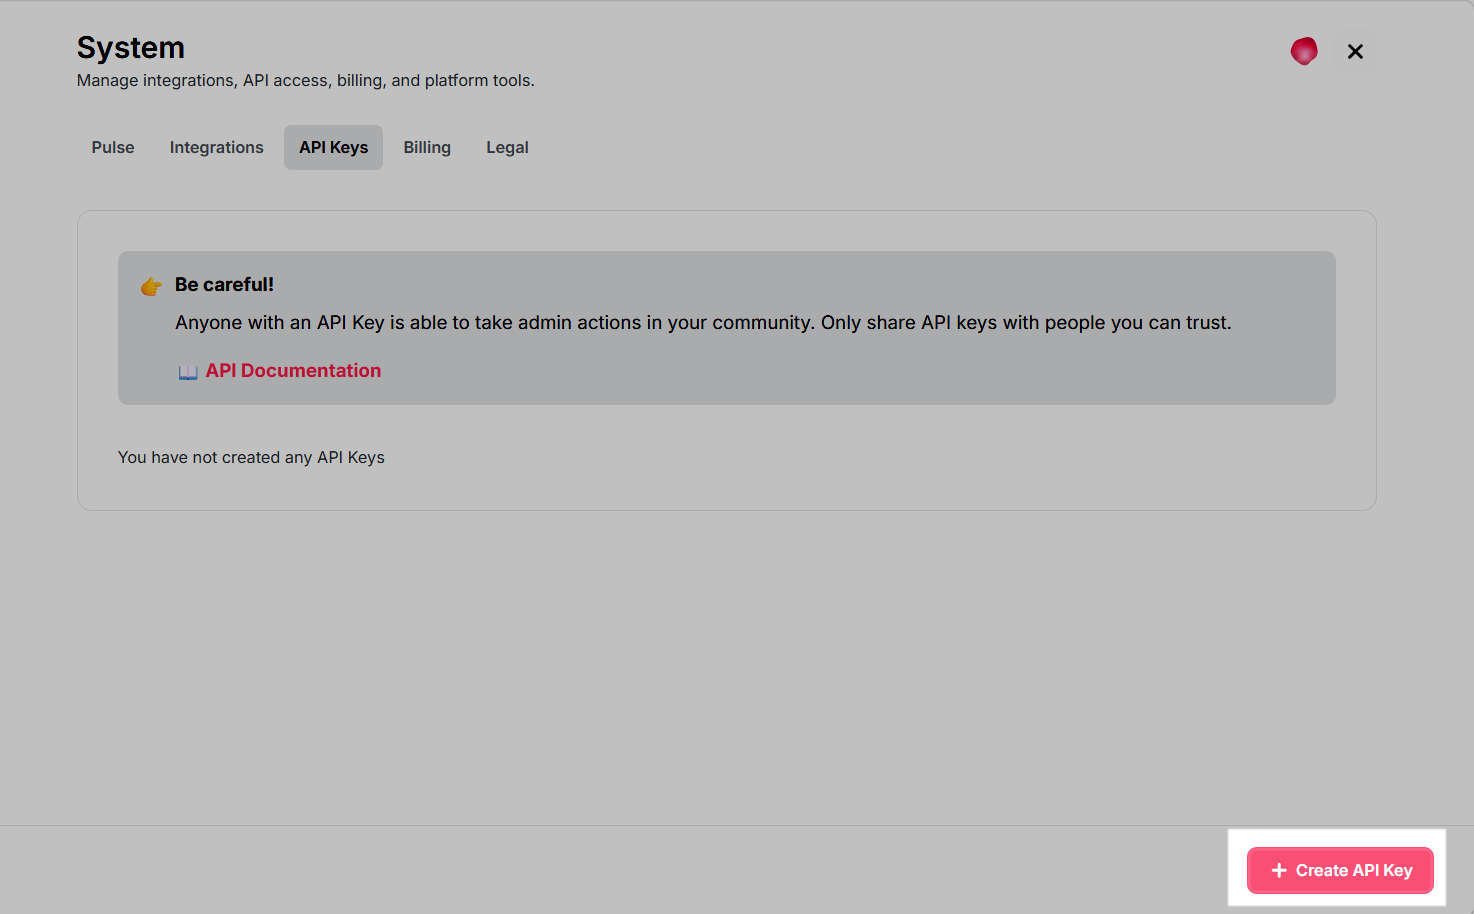
Before getting started, you will need an API key from your Heartbeat account. You can find this in Heartbeat under Settings > System > API Keys.
Select Create API Key.
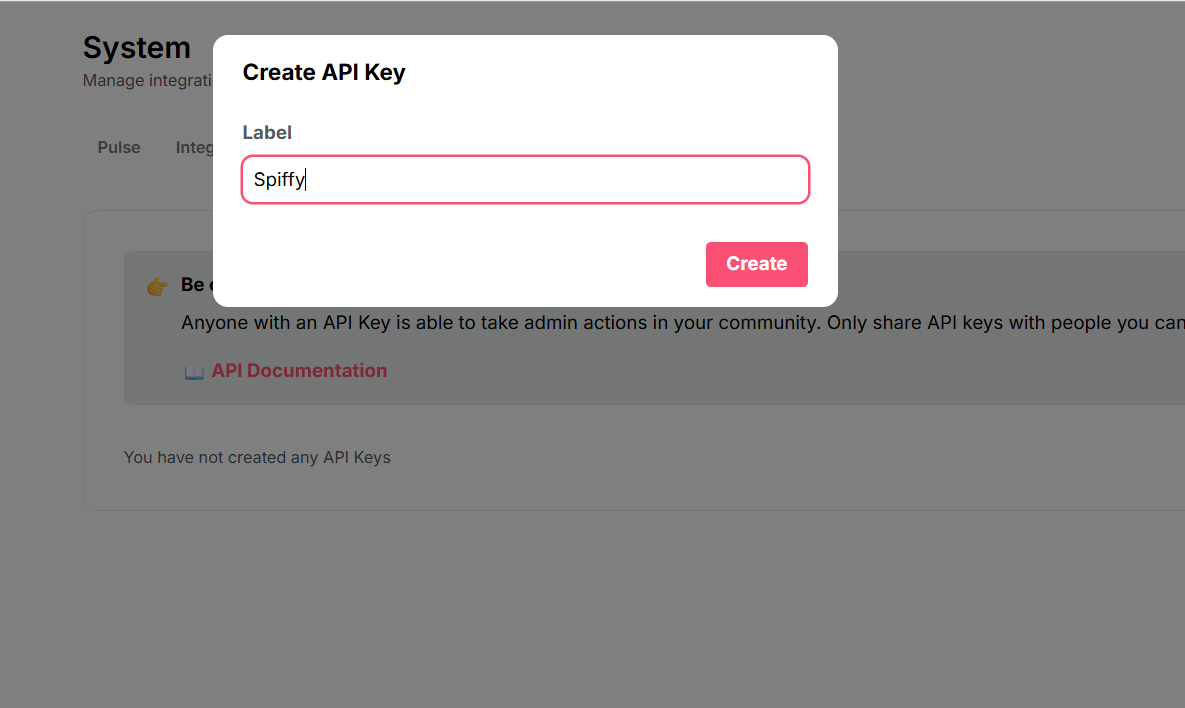
Add a descriptive label to your API key, so you know this key was created specifically to connect to Spiffy. Click Create.
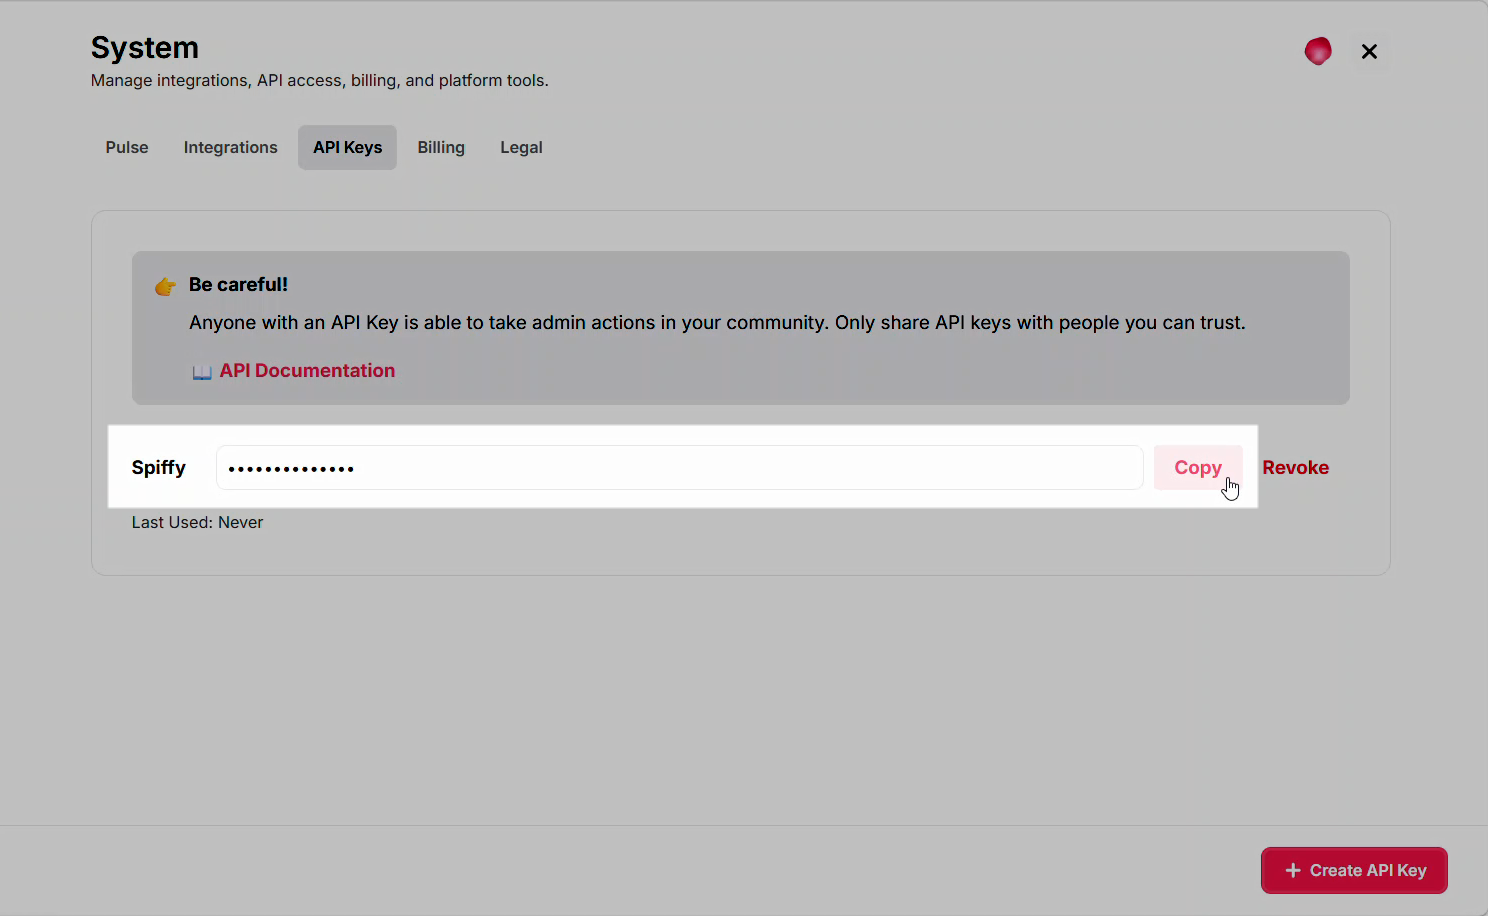
A unique series of characters will appear. Select Copy.
Back in Spiffy, click Account Settings > Integrations, and select Heartbeat from the list of available integrations.
In the box that appears, input your API Key.
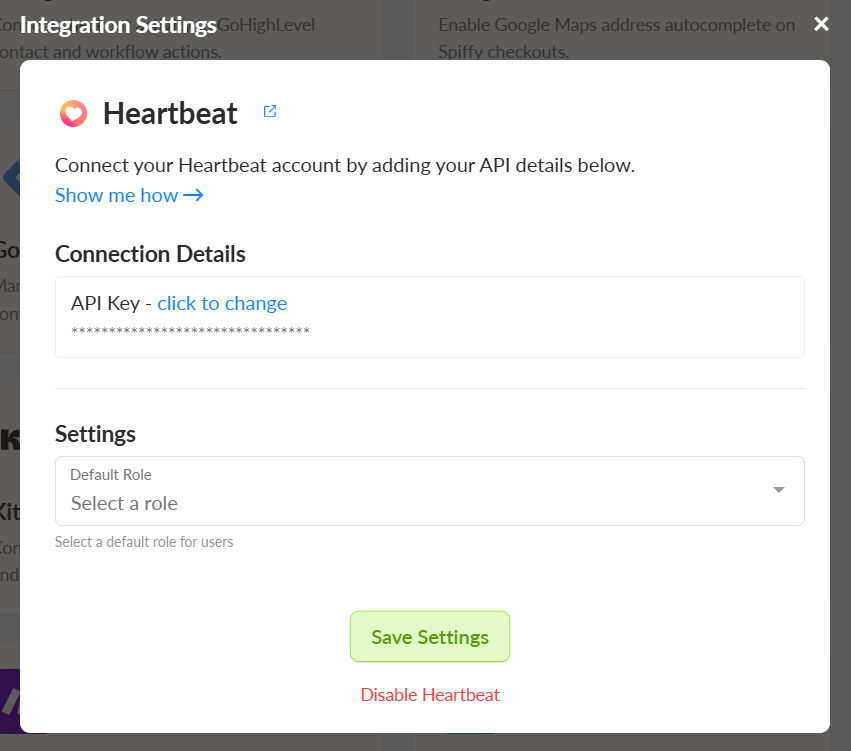
In the dropdown, select a Default Role to be applied to users that are added to your Heartbeat community. Select Save Settings.
You’ve now connected your Heartbeat account to Spiffy, don’t forget to set up Automations!
Learn more about Automations →
Automation Actions
Once you’ve connected your Heartbeat account you will now be able to:
- Add / Remove User
- Add to / Remove from Group/Course
- Send Direct Message