Connecting your MemberPress site to Spiffy is a quick and simple process. You will just need the following to get started:
- The WordPress URL that your MemberPress site is installed on.
- Your MemberPress API Key.
- You can find your MemberPress API Key in your Developer tools, under Rest API.
- Once you have your MemberPress URL and API Key ready, head over to Spiffy, click on Account Settings > Integrations.
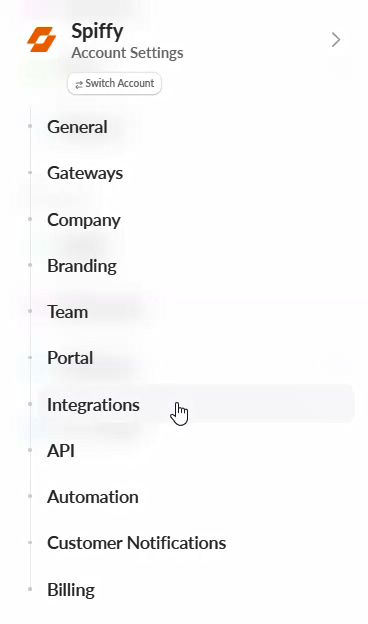
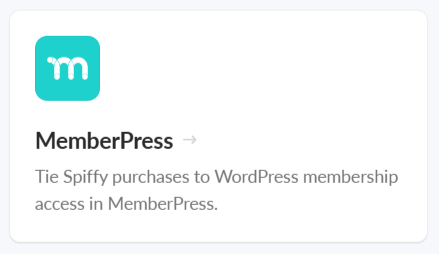
- From the list of available integrations, find and click on MemberPress
- Enter your WordPress URL and MemberPress API Key, that you gathered earlier, in the Connection Details
Be sure to include https:// in your WordPress URL

- Click Connect MemberPress to save the connection
MemberPress Integration – Please Note
- When MemberPress is connected, Spiffy will only add or update Users in WordPress if you have set up MemberPress Automation on a checkout. If a new customer places an order on a checkout that does not have MemberPress automation set up, they will not be added as a “User” in WordPress.
- Spiffy currently uses the Email Address entered on a checkout as the WordPress/MemberPress Username.
- (Temporary Limitation) Spiffy is unable to update existing MemberPress users where the Username and Email don’t match (users that existed prior to, and were not created by Spiffy that do not have their email address listed as their ‘username’). We are looking into a solution for this with MemberPress.
Your MemberPress integration is now ready to go!
You will now be able to start leveraging our simple MemberPress automation actions to Activate/Deactivate memberships for customers in your Spiffy Checkout Automation, as well as Spiffy’s Billing Automations (Global Billing Automation or Group Based Subscription Automation).
Anywhere that you can set up Automation in Spiffy, these MemberPress actions will be available for use!
Integrating with MemberPress gives you the ability to automate 2 simple functions: activating and deactivating a membership for a customer.

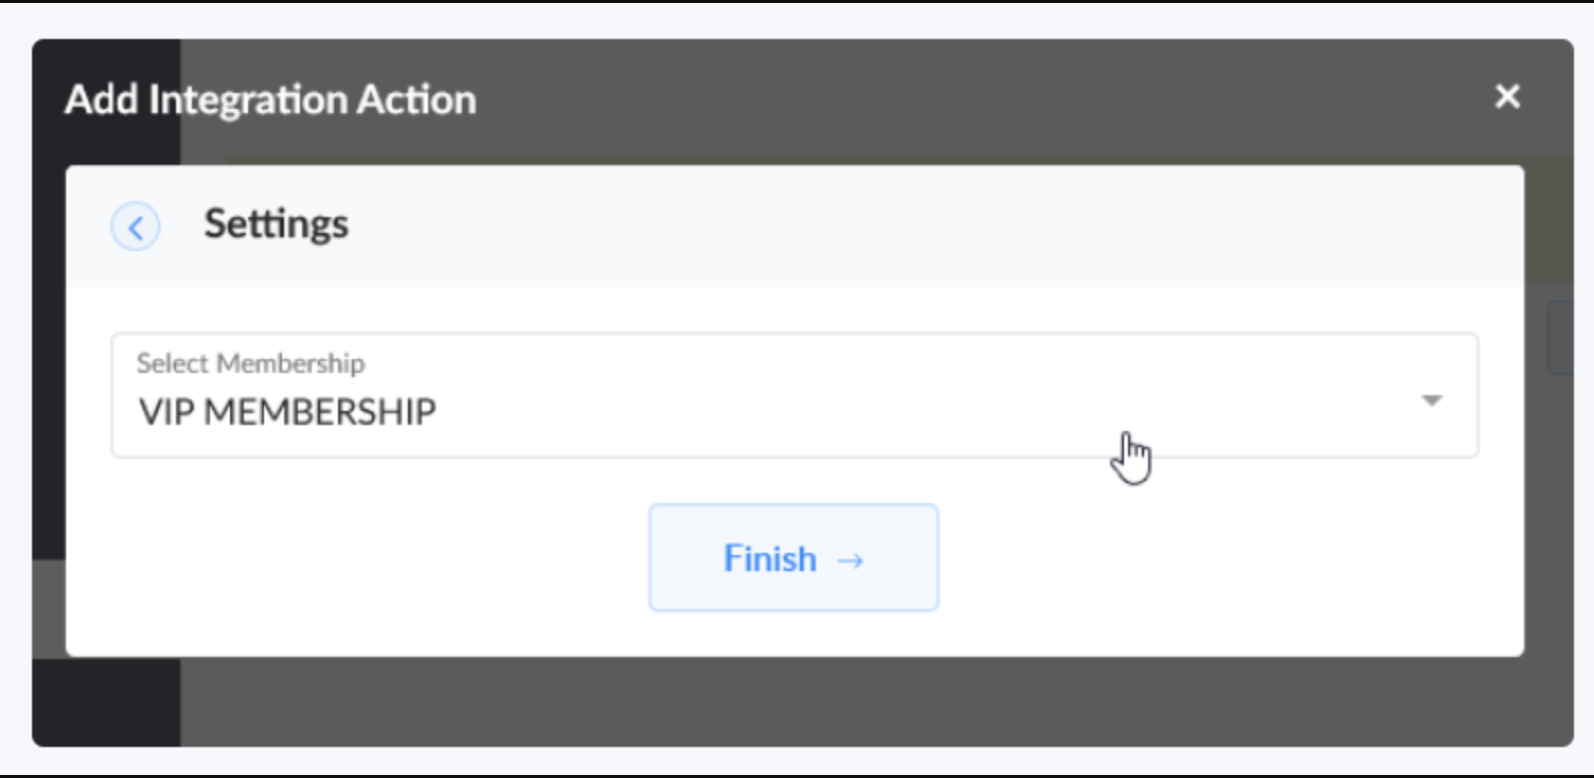
Activate Membership

To set up the Activate Membership action, select an existing MemberPress membership from the drop-down.
You will also have the option to send a welcome email. This welcome email is the template Welcome Email found in your MemberPress. This is not a Spiffy delivered email. This feature is commonly used when setting up initial purchase automation.
Deactivate Membership
This action would commonly be used with our Billing Automation triggers (Failed Payment, Subscription Cancelled, etc..)
To set up the Deactivate Membership action, select an existing MemberPress membership from the drop-down.
When this action is triggered for a contact, the selected membership will be removed from their user record in MemberPress, revoking access to this membership.
If you have any questions or feedback about our simple MemberPress integration, please let us know. We have plans to enhance the integration in the future, and we are interested in your feedback!