In this quick overview, we will show you how to get connected, and how you can start triggering tags to apply to your audience members for things like purchases and billing automation!
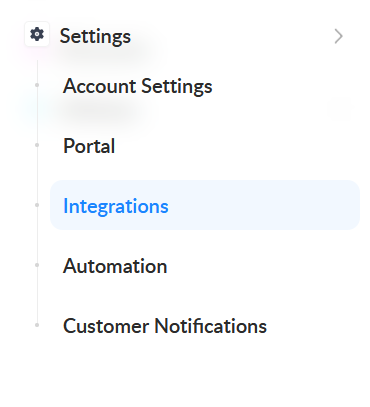
- In the bottom left navigation, click on Settings > Integrations

- Select Mailchimp from the list of available Integrations

- Click Connect Mailchimp (You may be redirected to Mailchimp’s sign-in page if you are not signed in to your account)

- Approve the connection by selecting Allow

5. Once connected, you will be redirected back to Spiffy, where you will be able to use the drop downs to select the Audience and Status that will be used when customers get added to Mailchimp
A few things to note as you get started:
- Our direct integration with Mailchimp only supports syncing to 1 audience. You will be asked to select the Mailchimp ‘Audience’ that you want Spiffy to add contacts to, and the ‘Email Status’, when connecting Mailchimp for the first time.
- Mailchimp does have a limited API, but Spiffy makes use of the most powerful parts: Adding contacts to your audience, and the ability to add/remove tags for purchase and billing automation.
- When setting up Tag Add/Remove actions for purchase or billing automation, you will be required to type in the name of tags that you may have already created in Mailchimp.The Mailchimp API does not support the ability to pull in a list of tags to choose from.
- When setting up Tag Add/Remove actions for purchase or billing automation, if you type in a tag that does not exist in Mailchimp, Spiffy will create the tag in Mailchimp the first time the action is triggered by any contact.
- Mailchimp does have a limitation surrounding their standard ‘Address’ fields, which means Spiffy is unable to sync data to them. Currently we recommend creating custom fields for ‘Address’ in Mailchimp, as their API does support our ability to map Spiffy fields to custom Mailchimp fields.

- Once configured, click Save Settings