Embed your customer portal, or affiliate portal into your own membership site, or software application. This makes it possible for your customers to update their credit card information within a single login, with 2FA via email.
What Are Embedded Portals?
We make it possible for you to embed your Customer Portal, your Affiliate Portal, and your Affiliate Registration on your own website, or within your online course, membership site, or software app.
This makes the user experience of updating credit cards more streamlined and uniform.
Instead of your customers going to a spiffy.co page to enter their email address, and access their spiffy.co customer portal, you can have your customers access the Spiffy Customer portal on your own domain name.
This is the same concept as embedding Checkouts on your own website.
Here’s the flow of what your customers will experience:
- On your website, you will embed the Spiffy Portal URL where customers enter their email address
- Your customer will receive an email with a ‘magic link’.
(The ‘magic-link’ is a time-sensitive, single-use link that will expire when clicked or after 1-hour) - Your customer clicks on the magic link and will be redirected back to your website where the portal is embedded and is automatically logged in to your Spiffy Portal that will now display in the embed
In this article we will go over the steps required to embed your portals:
- Add SpiffyJS to your website/app
- Set your domain name as a Trusted Domain
- Add the Portal Embed Element to your website/app
- Additional Settings And Controls
Add SpiffyJS to your website/app
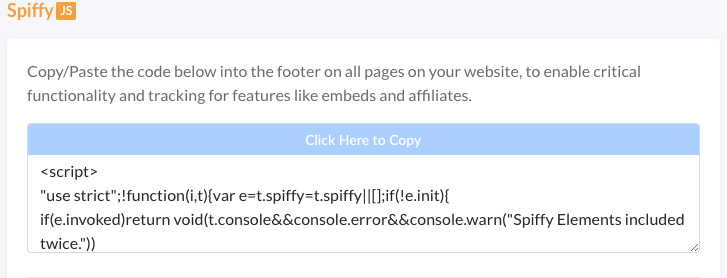
The SpiffyJS code that you need to embed your Portals is the same code you use to embed checkouts, upsells, and affiliate tracking.
You will find the SpiffyJS code under your account level settings.
In your Account Settings click on General
If you haven’t already, it’s a best practice to just add your SpiffyJS code to the header of your website, or in Google Tag Manager, so that it loads on every page on your website.
Set your domain name as a Trusted Domain
The Trusted Domains setting is what makes it possible for us to send people back to your website when they click the ‘magic-link’ in the email we send. We will send your customers back to the URL they entered their email on as long as the domain is listed here.
In your Account Settings click on General

If you do not add a Trusted Domain at your account-level settings, your customers will simply be redirected to the Spiffy-hosted Customer Portal.
Add the Portal Embed Element to your website/app
Go to our Developer Docs, navigate to the Elements tab, and grab our Portals embed Element.
Click here to visit Elements in Developer Docs
Copy the code snippet that looks like the screenshot below, and paste it onto the page on your website where you want your portal embedded.

Pro Tip:
You can edit the Portals Element to embed your Customer Portal and Affiliate Portal on separate pages. In the Portals Element code, change the word “customer” to “affiliate” to change which portal is embedded on a specific page on your website.
Additional Settings And Controls
We have additional code that you can add to your SpiffyJS snippet that gives you more nuanced control over your Portal and Checkout embeds.
example
You can adjust your Customer Portal embed to be very minimialistic and only display Subscriptions records. Under the Portal Options you would turn everything to true and leave subscriptions set to false.
We have more information, instructions, and code you can copy/paste in our developer docs.
Learn more about Portal Embed controls in our Developer Docs
